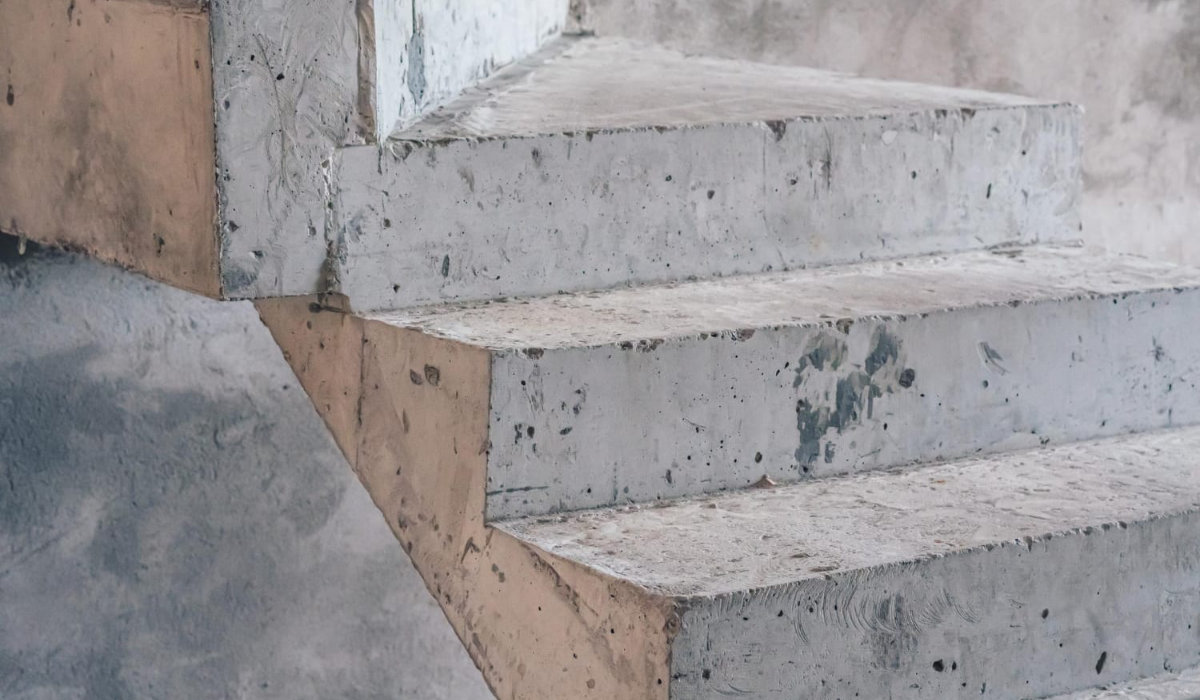
After the winter season, you may notice that the concrete steps on your porch or back deck are starting to crumble, the corners are chipping, and some of the sides of the foundations are crumbling. Repairing concrete stairs should be on your spring cleaning list as it poses a safety risk and reduces the aesthetic value of your property. Instead of hiring a professional, you can fix the stairs yourself with a quick-drying concrete mix.
However, when repairing concrete stairs yourself, it is worth remembering a few important issues. First of all, make sure that the structure of the stairs is stable and not in danger of collapsing. In addition, before starting the repair, the surface of the stairs should be thoroughly cleaned of the remains of old concrete, dust and other dirt, which will guarantee good adhesion of the new layer.
Materials:
- chisel
- hammer
- industrial brush
- vacuum cleaner
- cloth
- concrete glue
- quick-drying concrete mix
- rubber gloves
- goggles
- a hoe or something to stir the mass
- bucket
- smooth trowel
- level
- sponge
- spray water bottle
- concrete sealant
Instruction
Step one: remove the concrete crumbs
Start by removing cracked or chipping concrete to create a clean work surface. Poke the chisel into the cracks, then place the hammer on the chisel and hit it until the loose pieces fall off.
Step Two: Sweep up and vacuum up the residue
Then, using a brush, remove the concrete remnants, also removing small stones from the recesses. After removing larger pieces of concrete, use a vacuum cleaner to remove the dust. Finally, spray the surface with water – for better adhesion of fresh concrete, the surface must be wet.
Step three: apply glue
Concrete glue makes it possible to connect old concrete with new concrete. Use a cloth or brush to apply it. The glue dries for about 2-3 hours.
Step four: prepare quick-drying concrete
Now you need to properly prepare the concrete – it dries quickly, so after mixing it must be applied immediately. Before putting on a protective mask, gloves and goggles, prepare the quick-drying concrete by hand by pouring the mix into a plastic mason’s tray. Create a depression in the center of the concrete and pour in two-thirds of the recommended amount of water. Stir the concrete with a hoe, adding the remaining water. Do not add too much water as the concrete will not set properly. After mixing, the concrete should resemble moist mud and should not fall apart in the hand.
Step five: apply quick-drying concrete
Now that the concrete is prepared, quickly apply it to the damaged areas with a trowel.
Step six: smooth and remove excess concrete
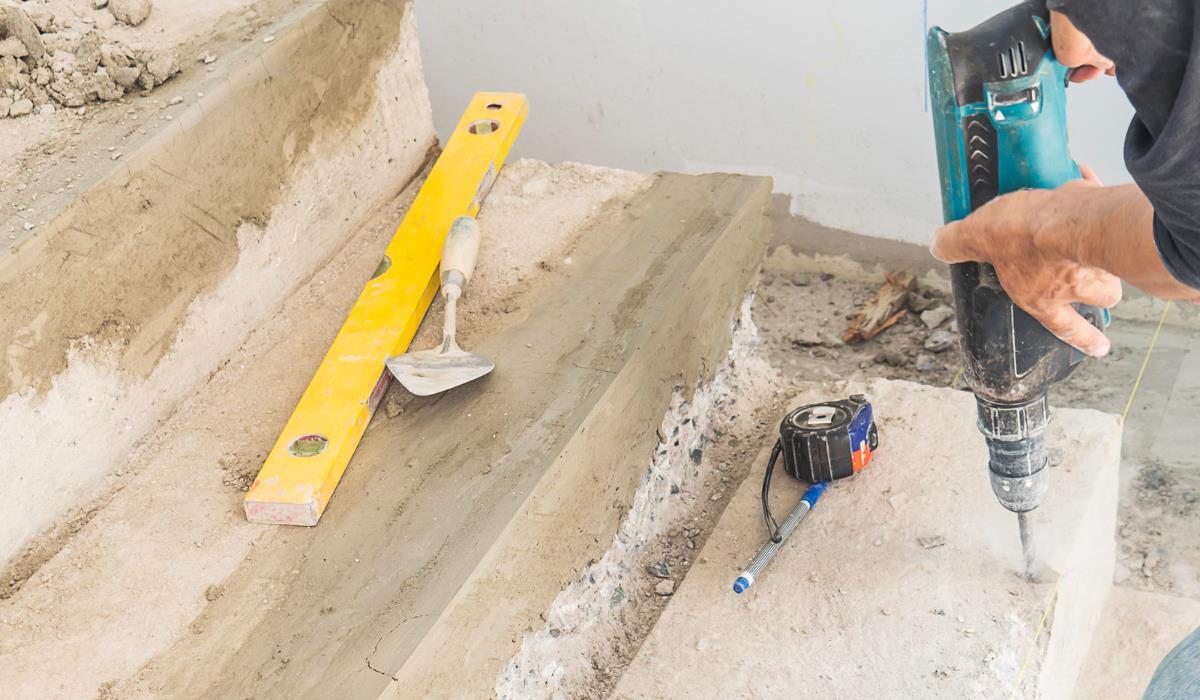
Remove any lumps of concrete, then wipe the surface with a wet sponge. If there are pits or shallow spots, use a trowel and fill them with concrete. Then use the sponge again to smooth the surface. After finishing work, use a spirit level to check whether the surface is flat.
Step seven: let the concrete dry
Spray the surface generously with water again. The concrete must remain damp, so allow it to dry for 24 hours. The longer the material dries, the stronger the concrete bond will be.
Step Eight: Apply sealant
Apply a concrete sealer one month after the repair, when the concrete has set properly. The temperature should be above 10 degrees Celsius and the concrete surface should be dry and clean. Follow the instructions on the sealant package.


