
This is not a frequent homework, but sometimes you may need to resize the ceiling opening that holds the light fixture. The most common example is replacing an older recessed fixture with a more modern style. Older recessed lights (also called recessed lights or recessed lights) tended to use fairly large enclosures that required a large opening. Modern recessed lights – especially those that use newer LED bulbs – are often much smaller. Trying to install these mini lamps can be difficult when the hole for the old fixture is too large.
There are other cases where it may be necessary to change the size of the ceiling opening. For example, you can replace a recessed lamp with a standard flush-mounted fixture that requires a much smaller hole in the ceiling. Or perhaps you made a mistake when installing the lighting and cut a hole that is too big for the new lighting. Another possibility is to move the luminaire to a new location and the old opening must be completely covered.
Before starting work
You will need a regular dough separator. This separator is a rigid polystyrene disc that confectioners use to support and separate the top layers of tall multi-layer cakes. Due to its 8-inch size, it is perfect for reducing the ceiling opening to accommodate both 6-inch and 5-inch recessed lights. Its smooth, rounded surface and edges look like a real finish. Because it is made of hard polystyrene, it has good heat resistance, while the material is soft enough to cut through others.
If you can’t find the above separator, any thin, rigid plastic disc can perform the same function as long as it is:
- powerful enough to keep the light right against the ceiling
- soft enough to cut without damage
- thin enough for the recessed light clips to press it against the ceiling.
It should also be visually appealing, aesthetically consistent with the rest of the lighting, and paintable.
What will be needed?
Equipment / Tools:
- oscillating multi-tool or hand saw
- jigsaw
- pencil
- goggles
- hearing protection
Materials:
- 8 inch plastic separator
- recessed luminaire with paper template
- painting tape
- white silicon (optional)
Instruction
Cut off the lower legs of the separator plate
Start by cutting off the legs on the underside of the dough separator plate. Use any tool that can cut the plastic at an almost flat angle.
Mark the separator for cutting
All recessed lights should come with a paper template for drawing a circle on the ceiling before cutting. This template can also be used to draw a slice on a separator. Center the template on the separation plate and stick it with a few strips of masking tape. Using a carpenter’s pencil, draw a circle on the separator plate. Remove the template
Cut
Stick the separator plate to the workbench with painter’s tape on all four sides. Press the tape so that there are no bubbles or folds. Set the jigsaw to the lowest speed setting. Wearing safety glasses and headphones, carefully cut along the marked line. If you leave too much space on the inside, the circle will be too small to fit the new recessed light. If you cut outside the line, the circle will be too loose and will not hold the light fitting properly.
Place a new finish
If you have any melted plastic protrusions around the cut circle, remove them. Work on this newly created trim part and move it over the light fixture. You will probably have to turn the ring back and forth to make it easier to place it over the protruding parts of the light fixture.
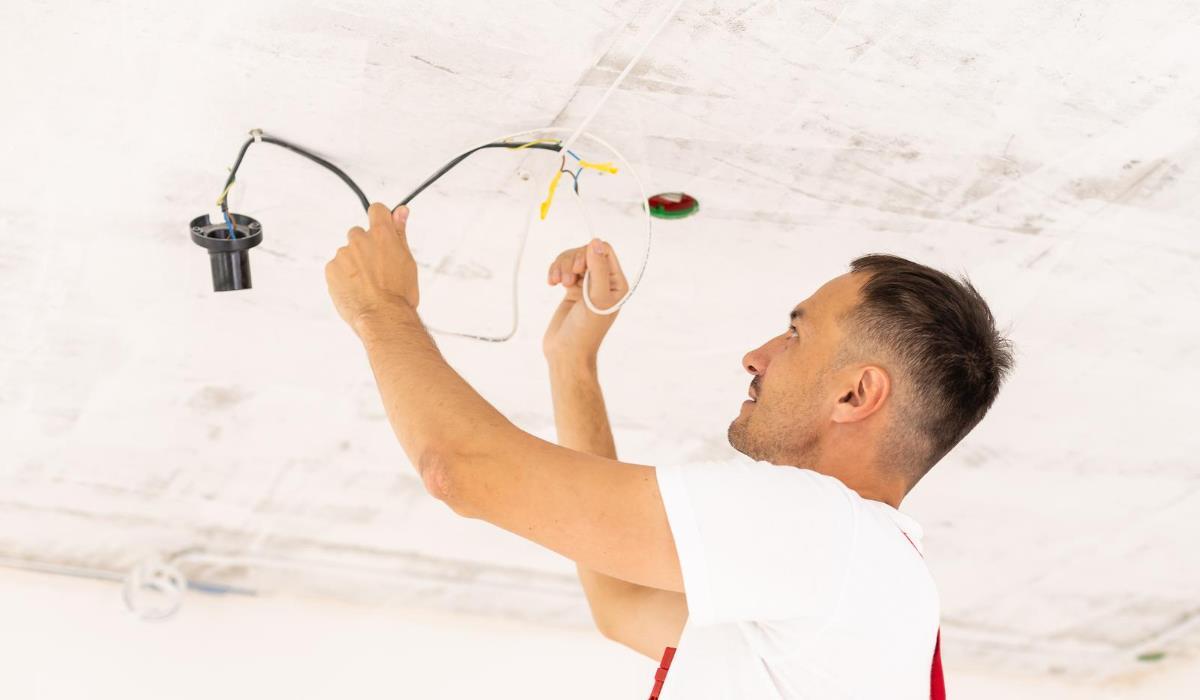
Install the luminaire
Install the luminaire in the opening, following the manufacturer’s instructions. With the new finish, the fitting should fit snugly into the opening with no visible gaps. If there are any gaps, you can choose to leave them (if they are small enough), start over with a larger ring of new material, or fill the gap with a bit of silicone.
Other repairs
In addition to the separator method, there are other easy fixes that can be made if the ceiling opening is the wrong size or in the wrong place.
Adjust too small ceiling opening
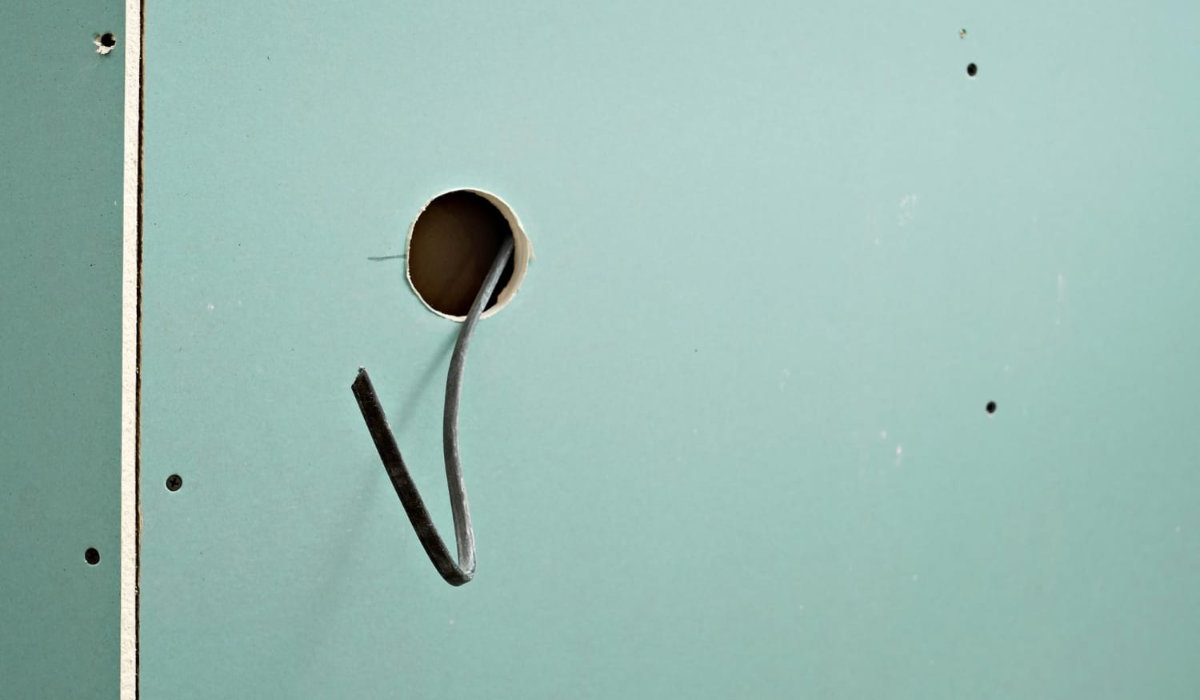
If you are installing a recessed light and accidentally make a hole in the ceiling that is too small, but only slightly, the fix is simple but unwieldy. Use a hand saw to carefully cut through the drywall until the lamp fits into the hole. Vacuuming the dust while sawing helps reduce the amount of dust. If the hole is too small, draw a new circle around the hole and cut along the new circle.
Fill the ceiling hole
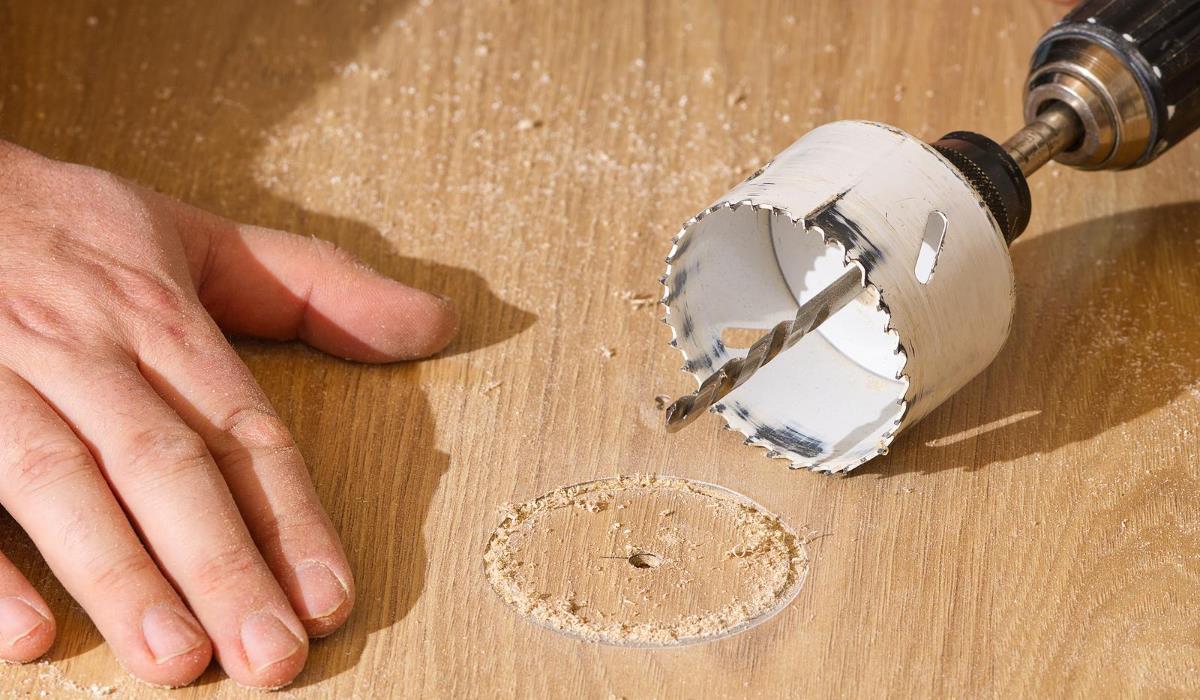
If your project is to completely relocate a luminaire, you will be left with a hole to fill. The easiest way is to screw the two support slats inside to cover the opening. Using screws, screw the slats to the surrounding plaster, then cut a circular plate to fit the opening. Screw additional screws to hold the patch on the supporting bars.
Tip: The board you cut to install the new light fixture may be the exact right size to use as a patch in the previous location. Work around imperfections where the patch meets the surrounding drywall, then use tape and putty compounds to patch the seam. After drying and smoothing the surface, align it with the surrounding ceiling.
Summary
Resizing the ceiling opening that holds the light fixture may be necessary in many situations, such as replacing an old recessed fixture with a modern model, or moving a fixture to a different location. In these cases, as well as when the opening is too small or too large, a homemade trick can be used that uses a spacer or other thin, rigid plastic discs to adjust the size of the ceiling opening. The step-by-step instructions below explain how to use this trick to reduce the ceiling opening and install a new light fixture for an attractive and professional look.


