

Few things are more frustrating than wallpaper blisters right after they’ve been installed. Despite the time and effort put in, the end result is far from the intended smooth, elegant finish. However, there is no reason to panic, removing blisters is not as difficult as it may seem.
Knowledge of the wallpapering process definitely reduces the risk of blisters, but does not guarantee their complete avoidance. Below we present the causes of blisters on wallpapers and propose solutions that will help you get rid of this problem once and for all.
What causes wallpaper blisters?
The appearance of blisters has several causes. These include short soaking times and uneven application of glue on the wallpaper, which leads to spots with excess glue. Wet places on the wall make it difficult for the adhesive to adhere. The same rule applies to walls that are poorly prepared or have a high-gloss finish. If you’re removing old wallpaper, make sure the walls have been properly prepared before applying the new one.
Will they disappear on their own?
Yes and no. It depends on the cause, but small bubbles often appear when the wallpaper is first applied, which disappears as the glue dries. Allow the newly glued wallpaper to dry for 24 hours, then check for any blisters.
Prevention of blistering
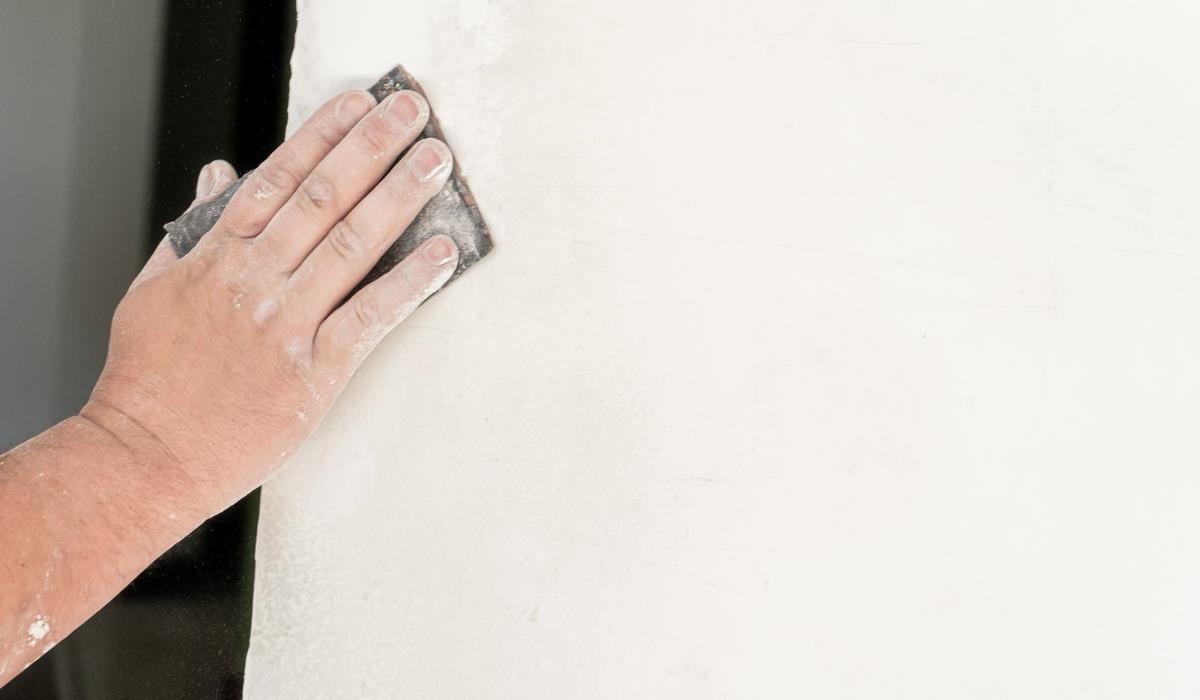
It is recommended to use a fine sandpaper to smooth the surface and apply a coat of primer before using wallpaper glue. This will help strengthen the surface and reduce the likelihood of peeling or blistering.
Another common mistake is to apply wallpaper too quickly. Blisters are more likely to occur if there is a poor bond between the wallpaper and the wall. Blisters are more likely to occur if there is a poor bond between the wallpaper and the wall. This process allows the glue to penetrate the wallpaper, not allowing it to dry before hanging. Each wallpaper is different, but each should come with the manufacturer’s instructions, which include the recommended time.
Tip: Apply pressure with a brush and smooth from the center outwards. Using this technique on a regular basis will help to avoid air traps under each strip of wallpaper.
A hair dryer as a home solution
If you have allowed your wallpaper to dry properly – for more than 48 hours – then a hair dryer alone is unlikely to remove the blisters. However, a hair dryer in combination with other tools can work wonders. You may want to try smoothing the blister out first with a wallpaper brush or wide plastic spatula as you are less likely to tear the paper in the process.
If that doesn’t help, combine a hair dryer with a wallpaper syringe to remove the blister. Fill the syringe with wallpaper glue, inject it into the blister, then smooth it out. Remove excess glue with a damp cloth and use a hair dryer at the end. For larger blisters, use a sharp knife to cut the blister, then use a paintbrush to apply the adhesive under the wallpaper.
Blisters appearing when painting wallpaper
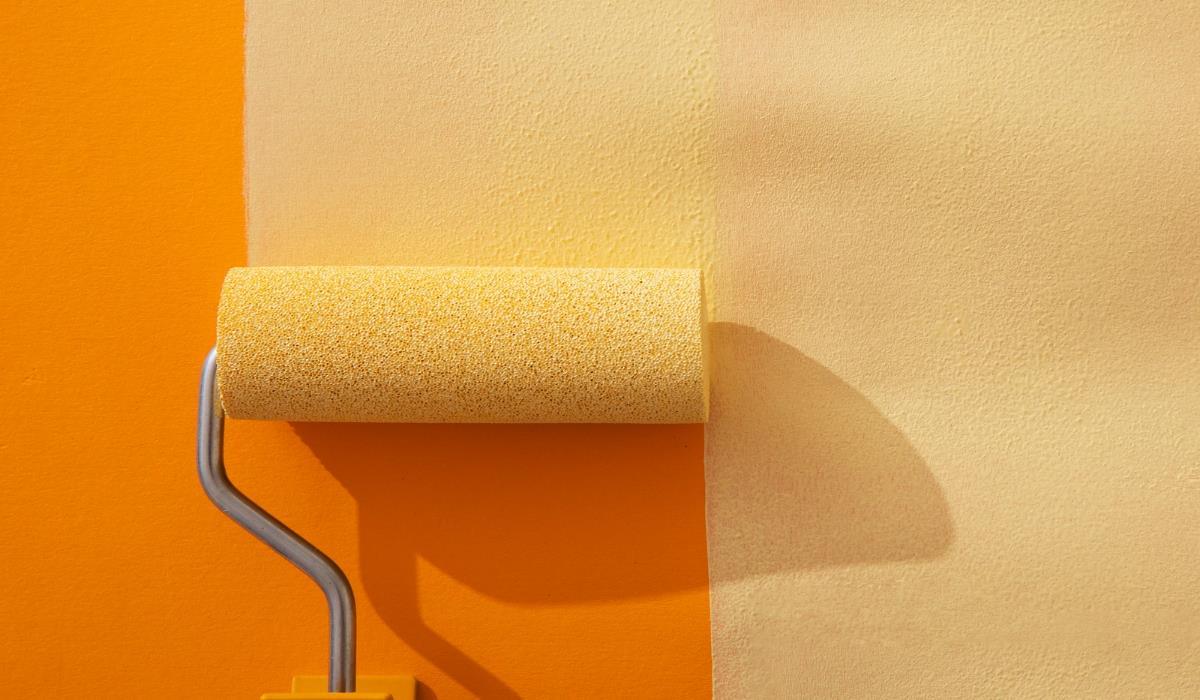
One of the common reasons why blisters occur when painting is because the wallpaper was not left to dry long enough before painting. So the first step is to make sure any new wallpaper is fully dried before painting.
By painting the wallpaper, you rewet the surface, which can cause lifting and blistering, especially in areas that were not well attached to begin with. Allow the paint to dry completely – before applying a second coat – and the blisters will most likely disappear. If not, you will have to look for a solution to the problem.
Blisters on wallpaper – summary
Blistering wallpaper is a problem that can be minimized with proper wall preparation and the right wallpaper application technique. In the event of blisters on already glued wallpaper, there are effective methods of removing them, which, however, require some effort and patience. Whichever method you choose, the key to success is patience and diligence.


