
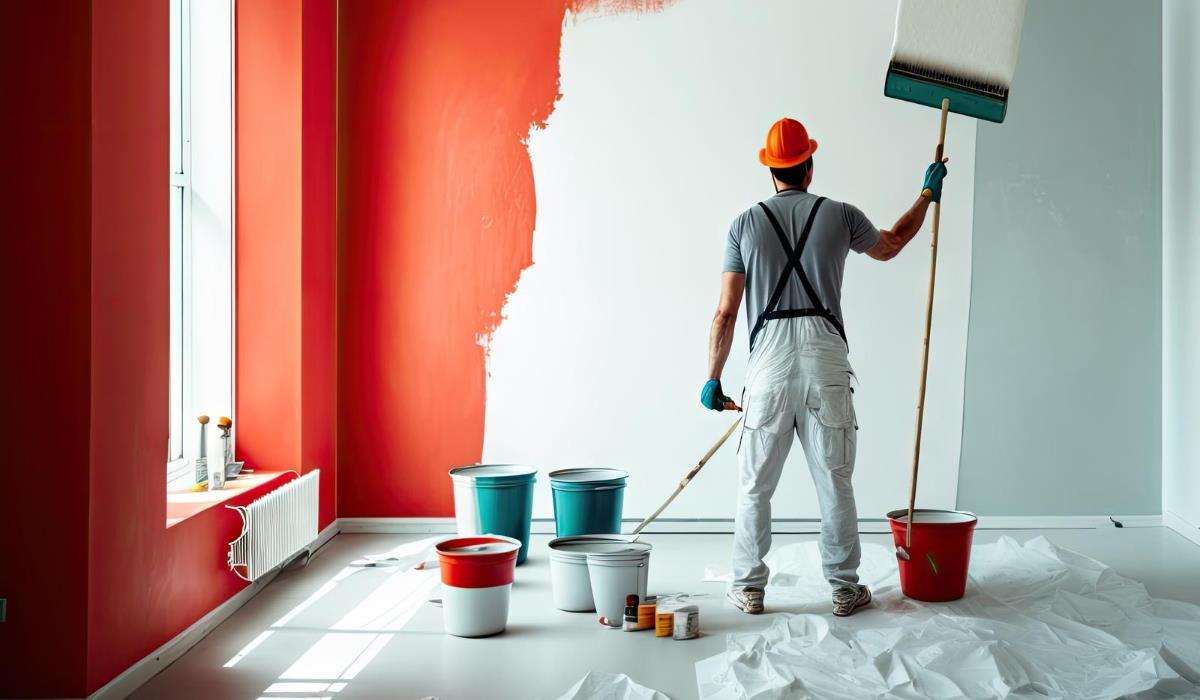
Over time, many of us feel the need to refresh the interior and get rid of unwanted scratches and dirt. Painting the walls is an effective way to renovate a room and give it a new shine. However, it is worth knowing that professional painting requires appropriate preparation and care. Here is our guide – Professional Wall Painting, which will help you achieve perfect results.
Professional Wall Painting:
Step 1: Selecting the Right Materials and Tools. Before you start painting, plan carefully and stock up on the necessary materials and tools, including high-quality paints from reputable manufacturers that will ensure lasting effects, a roller with a telescopic stick for painting larger surfaces, a small roller and brush for precise details, and painter’s tape to protect items such as window frames, doors, light switches and electrical sockets, a paint tray to help evenly apply paint to the roller, and appropriate floor and furniture protection such as foil or canvas to avoid accidental paint stains. Taking care to choose the right tools and materials will certainly translate into a professional final painting result.
Step 2: Preparing the Walls: Before starting to paint, make sure the walls are properly prepared. Make sure they are straight, free of chips and moisture. If they need refilling or other repairs, do this work ahead of time.
Step 3: Protecting the Elements: Protect the floor and furniture from accidental paint drips. It is best if the room is empty, but if this is not possible, carefully cover the furniture and move it away from the walls.
Step 4: Let’s get started Painting: Walls prepared and elements secured, you can start painting. First, protect window frames, doors, light switches, electrical sockets and other elements with painter’s tape. Then pour a small amount of paint into the paint tray and evenly cover the roller with it.
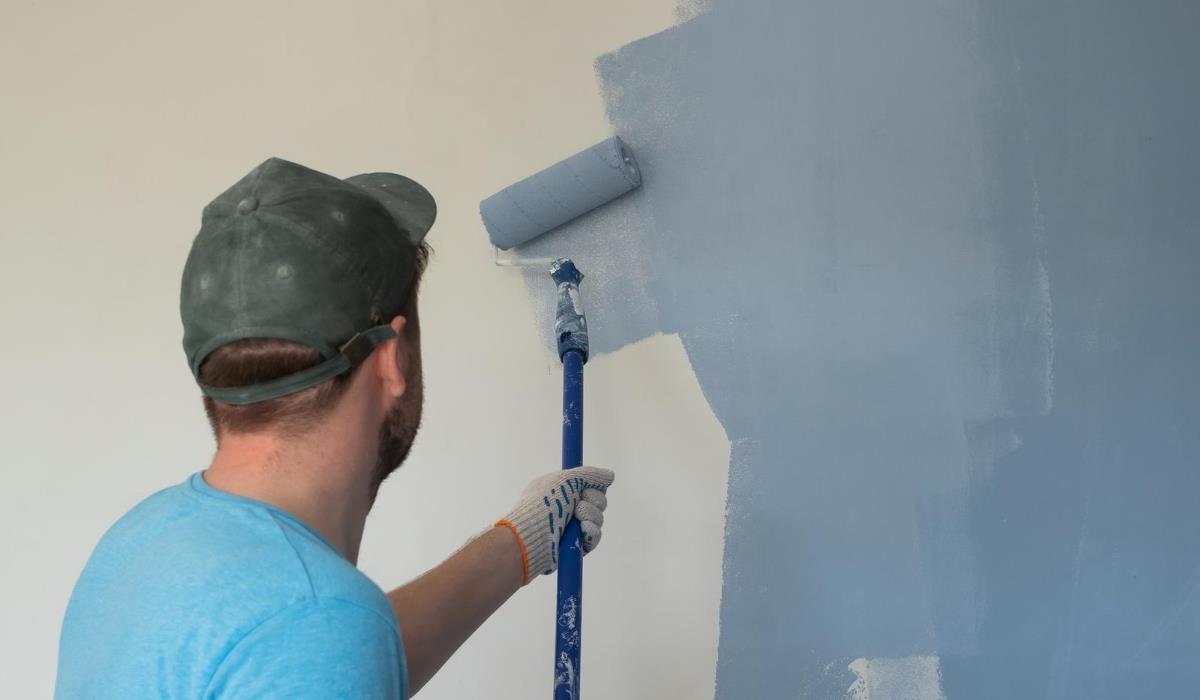
Step 5: Painting: Paint the walls with smooth movements from top to bottom, moving the roller at a gentle angle from side to side so as not to paint the same place several times, which could cause the old layer of paint to peel off. If you have narrow areas such as corners or details, reach for a small roller or brush.
Step 6: Patience and Waiting: After painting, wait until the first layer of paint is completely dry. Leave the windows open to speed up the drying process. Then, you can start applying the second layer. Only then will the target color be visible.
Professional wall painting may require effort and patience, but the results will surely please you. Careful preparation and care in painting will bring excellent results, giving the walls a new look.


