
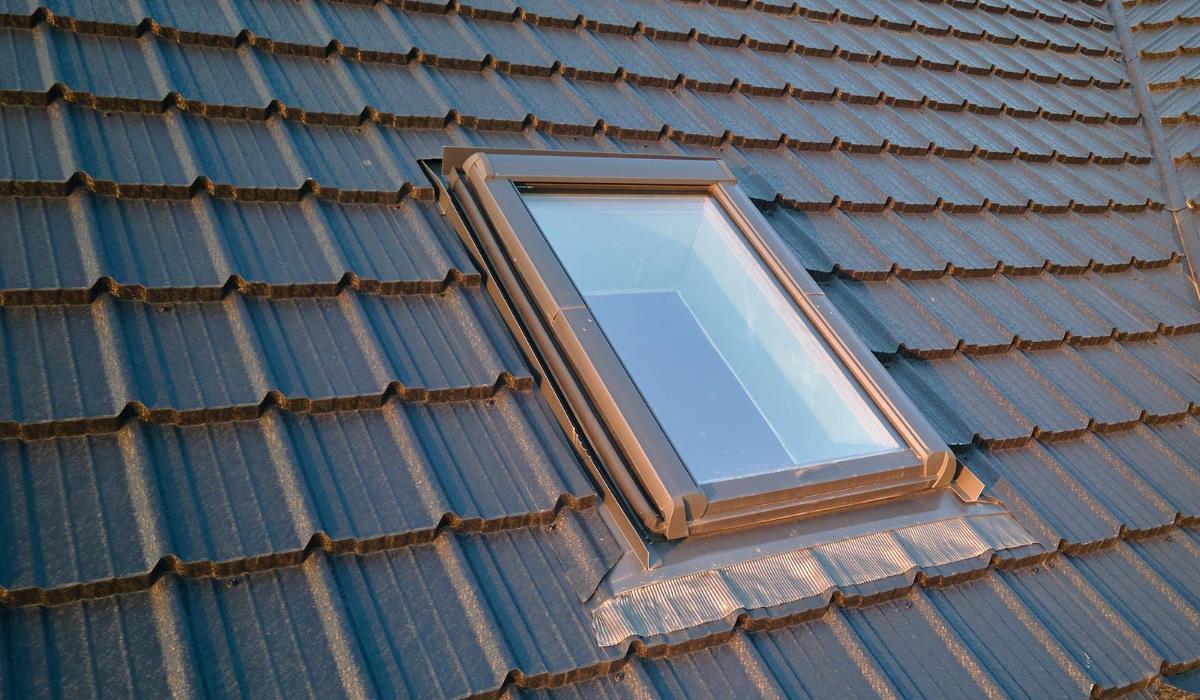
Skylights are valuable elements of every home, introducing plenty of natural light and adding attractiveness to the rooms. However, over time, problems can inevitably arise, such as leaks, which not only disturb the comfort of the occupants, but can also lead to more serious damage to the building.
Replacing a leaking skylight can seem like a complicated task, but with proper preparation and care, it is a task that you can do yourself. In the following article, we will show you step by step how to safely and effectively replace a leaking skylight to enjoy a bright and dry room again.
How to start?
Begin by removing the tile using a flat crowbar, starting three or four layers above the skylight. Then, pry up the tiles on both sides of the skylight, exposing the crotch plate. Unscrew and remove the rain cover around the skylight. Then remove the crotch plate from the sides of the skylight. Unscrew and remove the faceplate from the top of the skylight. Use a knife to cut the waterproofing membrane around the periphery of the skylight. Peel off the membrane to expose the metal brackets that secure the skylight to the roofing. Unscrew the handles from the periphery of the skylight, then remove the skylight from the opening. Pull the membrane along the bottom to free the skylight from the roof.
Before you install a new skylight, install a solar-powered window blind and interior wood trim package. Nail the vinyl strips around the roof opening to cover the exposed edges of the plaster. Place the new skylight in place, centered in the roof opening. Secure the skylight by driving 2-inch galvanized nails with a ring into the mounting brackets and into the roofing material. Apply the self-adhesive waterproofing membrane along the bottom of the skylight.
Lift the rubber seal attached to the bottom of the skylight and slide the bottom crotch plate into place. Nail the sheet to the sides of the skylight perimeter and to the roofing. Cover both sides of the skylight and the bottom crotch sheet with continuous strips of self-adhesive membrane. Reinstall the previously removed tiles, starting at the bottom and working up the roof. On the sides of the skylight, install a piece of crotch plate between each layer of tiles. Nail the crotch plate to the periphery of the skylight, not to the roofing material.
Proceed with the installation of the tiles, making sure not to drive nails through the crotch plate. Install the rain sheet around the perimeter of the skylight, starting from the bottom. Then attach a rain sheet at each end and finally along the top of the skylight. With the rain shield installed, screw the faceplate into place. Make sure the top edge of the sheet is hidden under the tiles. Install the remaining tiles above the skylight.
Leaking skylight – summary
Finally, check the operation of the solar-powered window blind from below. With these simple steps, you can replace a leaking skylight yourself and effectively, ensuring the safety and comfort of your home.
Replacing a leaking skylight is an essential step in keeping your roof healthy and functional. Leaks in skylights can lead to serious problems such as water leaks, material damage and energy loss. By carefully examining and evaluating the condition of the skylight, and using the appropriate materials and techniques, leaks can be effectively eliminated and the skylight returned to full working order.


