
In autumn, when the nights become cold, it becomes necessary to turn on the heating. We may be unpleasantly surprised by the fact that the radiators do not work. It is worth understanding that we do not always need a specialist to repair a fault in our radiator. In this article, we will present five potential reasons why your heater may not be working, whether it is broken and how to deal with them.
How to repair a broken radiator?
1. Check the drain valve
Let’s start with the simplest step, which is checking the drain valve. We often look for more complicated causes when all we need to do is unscrew this valve. This element is located in the lower part of the radiator, covered with a special masking cover. You will need an Allen key to unscrew it. If, after unscrewing the drain valve, the radiator still does not work properly, we can continue to the next step.
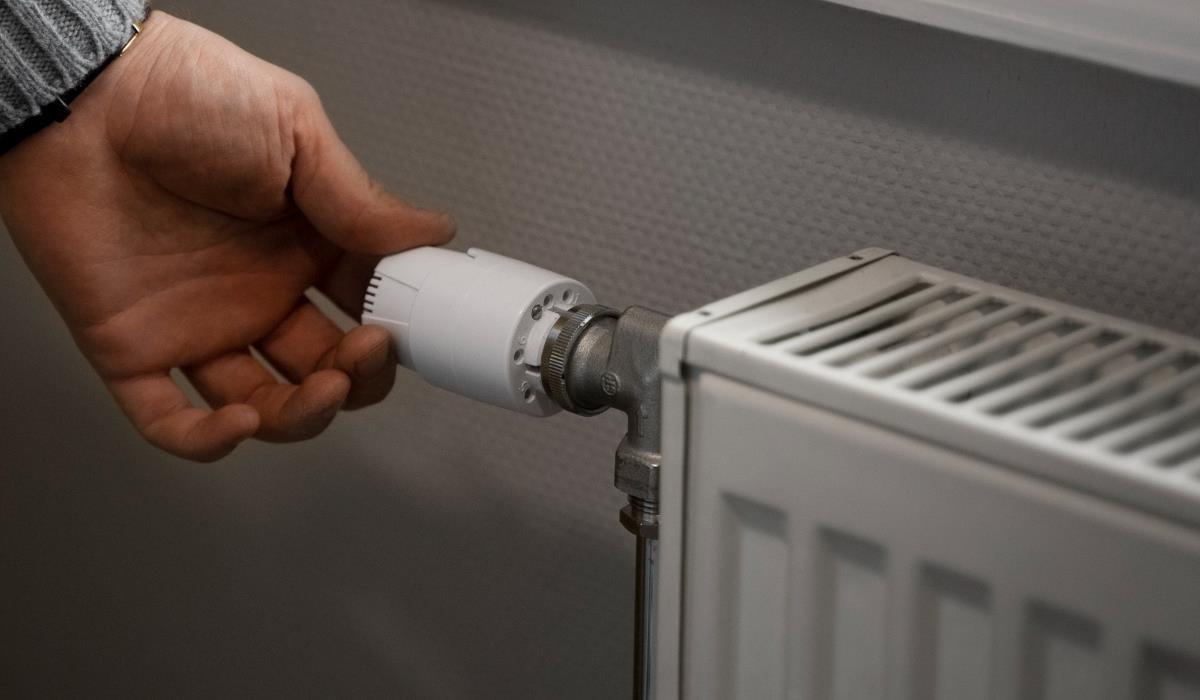
2. Check the thermostatic valve
If the heater still does not work properly, the problem may be a faulty thermostatic valve, or more precisely, a blocked needle. To check this, set the thermostatic valve to the maximum and minimum settings several times. A properly functioning radiator on the maximum setting should heat up after a dozen or so minutes. If this does not happen, the needle in the thermostatic valve may be blocked. To repair it, we need to remove the thermostatic head, where we will see the protruding needle. If it is pressed too tightly, the thermostatic valve cannot be adjusted and hot water does not reach the radiator. To unlock the firing pin, simply grab it with pliers and gently pull it out. After this procedure, the heater should start working.
3. Check if there is no air in the radiator
Another common cause of a malfunctioning radiator is air contamination. A clogged radiator not only does not heat the room, but you can often hear the water gurgling or rustling in it. Air lock results from installation errors or installation leaks that allow air to enter the heating system. The solution is to bleed the radiator. To do this, turn off the thermostat or turn off the water supply, wait until the radiator cools down, then place a container under the bleed valve (usually at the top of the radiator) and gently unscrew it using a wrench or screwdriver.
4. Check correct installation
If none of the above steps repaired your radiator, it may have been an error during installation. The radiator may have been installed incorrectly. It is worth making sure that the radiator is connected properly. Radiators are usually connected to the installation using two valves: a regulating and a shut-off valve. If you are not sure how to do this, it is always worth consulting a plumber. If we decide to try to repair it ourselves, remember to turn off the water supply during installation and follow safety rules.
5. Check for contamination of the installation
Another potential cause of a non-functioning radiator may be contamination of the heating system. Deposits such as scale or rust may accumulate in the installation, which may prevent the heater from operating properly. If we suspect contamination, it is worth consulting a plumber who will rinse the radiator and the entire installation. Remember that taking care of your radiators all year round will keep them in excellent condition and ensure a comfortable room temperature for many years.


