
Double doors, heavy, with solid guidance, on the other hand, move seamlessly from the center of the cabinet, allowing a full view of the contents inside. In addition, thanks to the wide selection of profiles, double-leaf doors give character to a simple opening.
Replacing this hollow structure interior door with a solid double door is not much of a problem; the entire installation will take one Saturday afternoon. Follow our step-by-step guide to installing bifold doors and you’ll be rewarded with a wide view when choosing your daytime outfit.
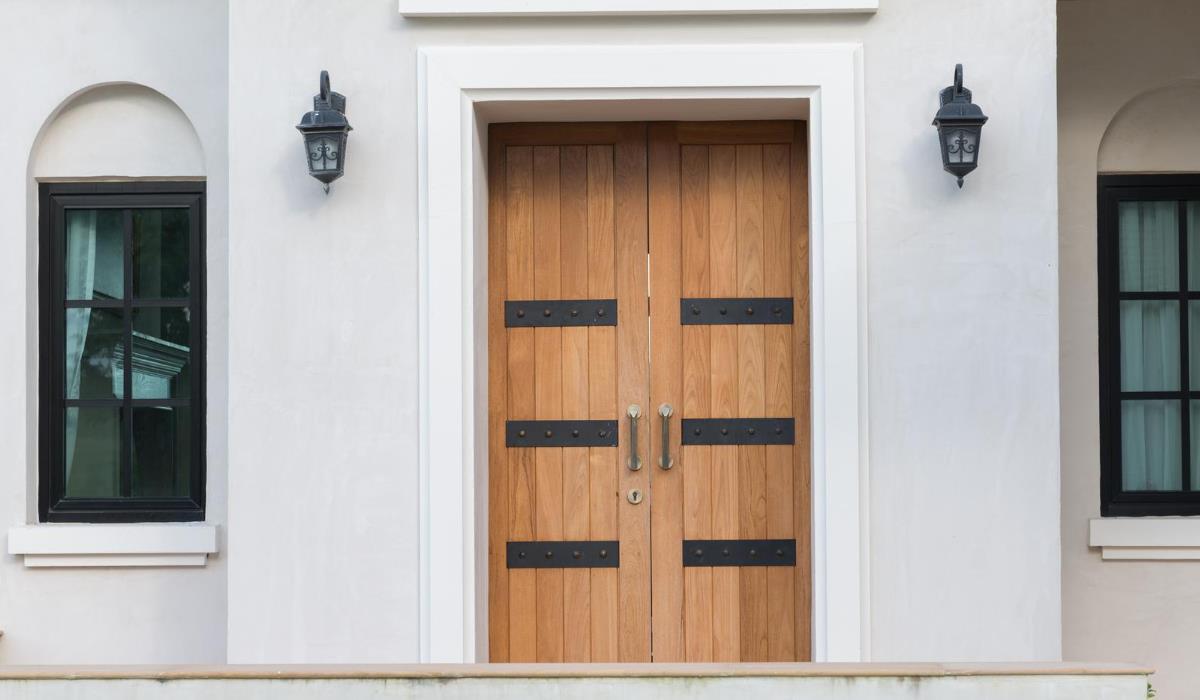
Double-leaf door review
Double-leaf doors are similar to ordinary doors, but connected in pairs by hinges and fixed on a track. What makes them look good and work efficiently is a solid and heavy construction as well as solid and carefully adjusted mounting elements.
The weight of the door prevents it from shaking when opening. Therefore, it is best to choose a door with a solid core or wood, which will be more solid than a door with a hollow structure. (Solid doors are also easier to trim if any of the door opening components are misaligned.) Then, to handle the weight of these heavier doors, you need a track that incorporates a mechanism with wheels so that the door slides smoothly along the track.
The hardest – and sometimes the most frustrating – part of the installation is assembling and adjusting all the mounting hardware. The guide, bushings, and hinges all need to be carefully assembled, so it’s worth taking the time to double-check each measurement and position to make sure each piece is in the right place and facing the right way.
Step 1 Install the hinges

Finish or paint the door before you start. Mark the doors to determine the assembly order and which sides are outside. Take one door on the side of the jamb and mark its inner edge 28 cm from the bottom, 18 cm from the top and center them between these points. Place the door on the edge with the marks facing up.
Take the bottom half of the hinge and align the bottom of it with the bottom mark so that the hinge faces back and is flush with the edge. Use a self-centering drill bit to drill pilot holes through the hinge holes. Screw the hinge plate. Install the top and middle hinges in their places. Place the second (inner) door on the edge with your back to the first door. Align the door flush using the angle bracket, then connect the hinges. Screw the hinge plates to the second door. Repeat this step for the second pair of doors.
Step 2 Install the track mounting hardware
Fit the bushing plates (pins that fit into the track and floor bracket) and stoppers (hooks that run along the track) to the top and bottom of each pair of doors. The bushing plates are placed on the upper and lower doors and the lock on the upper door. Each set requires individual positioning of the mounting elements, so check the exact dimensions and locations according to the diagrams provided in the set. You will learn, among other things, how far the sleeve should be from the door openings, as well as where its tip should be located relative to the edge of the door. Compliance with all given dimensions ensures that no element will be installed backwards.
Step 3 Install the guide
Use a hacksaw to cut the guide to the correct length to fit the width of the opening in the cabinet. Insert the suspension elements into the guide – small stops in the middle, then guide hangers with wheels around them, and the attachment to the sleeve on the outside. Screw the guide to the door beam with the supplied screws. Place the guide 2.5 cm from the front edge of the door beam. This will give you enough space to hide the track behind the skirting board without restricting the movement of the door.
Tip: Do not tighten the fasteners to the guide. Later, it will be easier to hang the door if the pieces are loose.
Step 4 Place the floor holder
Follow the dimensions provided by the manufacturer to place the floor holder next to the door frame. Hang the truck vertically from the center of the track over the floor bracket to align the hole for the bracket’s longitudinal pins at the front and rear. This will ensure that the door will be vertical when fitted. Mark the handle with a pencil to mark its exact position. Screw the handle in place, then remove the screws and set the handle and screws aside.
Step 5 Hang the door

Bring the door up to the track and lift the side of the jamb to engage the pins on the bottom hinge plate into the slot on the track. Make sure the pins are fully inserted, then press the lever on the side of the slot to lock it in place. Insert the pins from the track hanger into the lock on the inner door. Turn the lock to lock it in place. Close the door and gently slide it forward to catch the floor handle on the bottom pin.
Step 6 Attach the floor bracket
Slide the door back into place and align the floor bracket with the pencil marks. Use the flexible drill extension to screw the handle in place. Hang the second pair of doors. Close both sets and adjust them along the guide to get even spacing around them. Then, using the spanner supplied with the mounting hardware, tighten the guide slots at the ends of the guide and the small stoppers in the middle.
Tip: Get help from a second person to lift and hold the door, which may be uncomfortable.
Step 7 Install the door fitting
From inside the cabinet and with the door closed, install the door fitting between the two leading pairs of doors, 15 cm above the floor. Door fittings maintain an even surface of the door when closed. Check the fit from the outside of the cabinet. If necessary, adjust track mounting hardware to maintain an even gap around the door.
Step 8 Install the door handles

For flat doors, measure 90 cm from the floor on each leading door. Then mark the center from side to side at that height. For panel doors, find the center of the inside beam. Hold an angle diagonally from corner to corner of the beam, draw a line in the middle, then go to the second diagonal and intersect with the first line. The cross marks the center of the beam.
Step 9 Drill holes in each mark and screw in the door handles.
Cut a piece of 2.5 cm wide strip to the width of the opening in the wardrobe to cover the guide. Oil the skirting board and let it dry. Use a drill bit to drill pilot holes through the underside of the molding in the door beam. Screw the strip to the beam with the fastening screws. Fill the screw holes and then paint the skirting board to match the door frames.
By following these steps, you now have a beautiful and functional double door in your wardrobe. They can add style and facilitate access to the contents of the wardrobe. Now you can enjoy the full picture and comfort as you choose your clothes every day.


