
Looking for an easy, affordable and quick way to give your floor a makeover? Self-adhesive floor tiles are the perfect solution. Self-adhesive tiles (also called sticker tiles) are a dream material for DIY enthusiasts.
Installation requires only basic skills, minimal assembly time and few tools. However, there is one “but”: self-adhesive tiles require precise positioning of the first piece and the first row. How even the rest of the installation looks depends largely on the accuracy of the first order.
How to lay self-adhesive floor tiles – step by step guide:
Self-adhesive floor tiles – primer
If recommended by the manufacturer, apply an underlayment product to the floor. On most surfaces, two coats are recommended, the first thinned, the second full. Both coats will be easy to apply with a long roller.
Dry laying of tiles
Use straight lines to locate the center of the room. By drawing the next ones, create an auxiliary grid for arranging the tiles. Make sure the lines intersect perpendicularly. It’s worth spending some time on this step. The more tiles that do not require cutting, the faster and easier the installation will be.
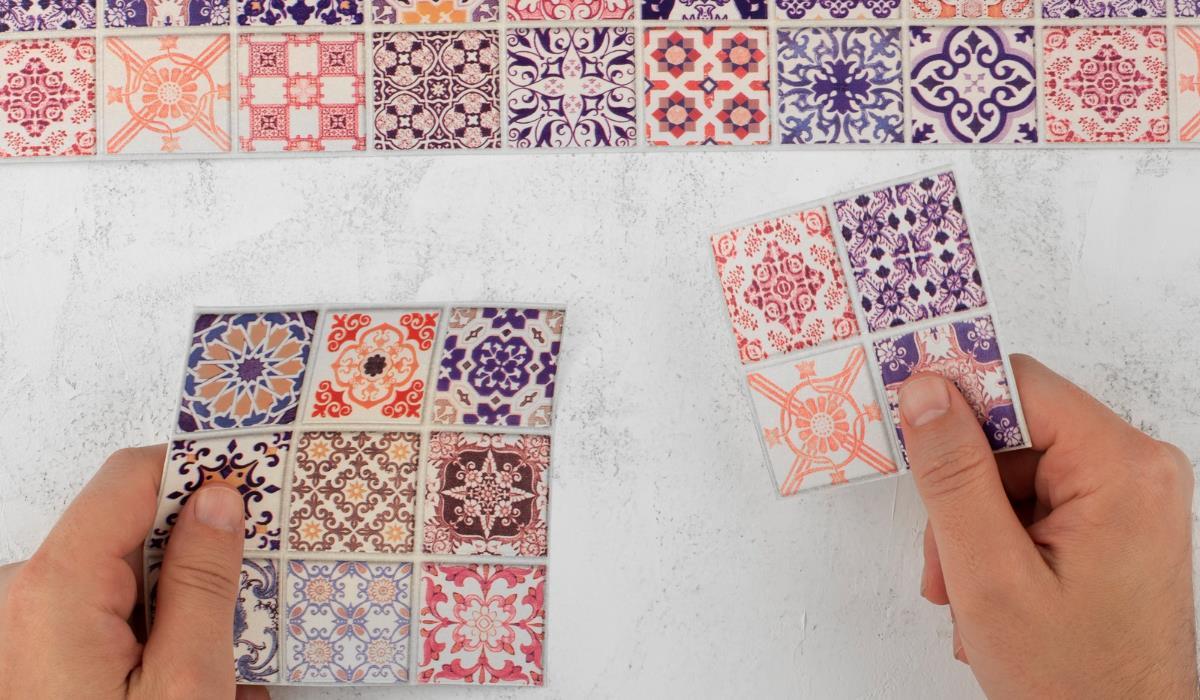
Setting the first tile
Loosely arrange the tiles along the lines, in the same or opposite direction of the arrows (pattern direction), depending on the effect you want to achieve. Start from the corner of the tile and slowly remove the adhesive paper. Do not tug as you may tear the paper. Fresh banks are hard to pick up. Place the corner of the tile at the intersection of the lines and press it down. Then roll out.
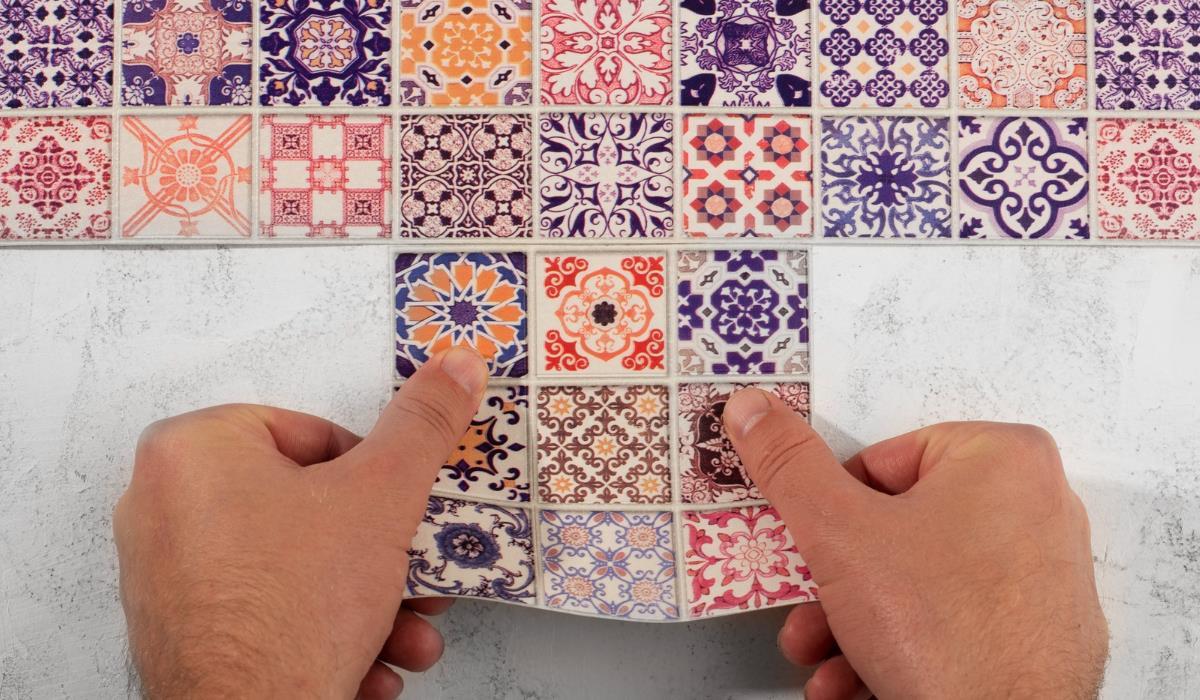
Laying the rest of the tiles
Continue to lay the tiles, keeping the correct layout so that each tile has flush edges to adjacent tiles. Don’t forget to keep the pattern consistent. If you mistakenly place the tile in the wrong orientation, heat it with a hair dryer to soften the glue, then immediately pry it up with a wide tool. Use damaged tiles to fill difficult places. Do not remove the paper from the tiles until you are ready to lay them.
Trimming and laying tiles
Mark the trim plate around obstructions, but leave the paper. Using sturdy scissors, cut the tile along the line. Remove the paper and align the tiles carefully, placing the leading corner or edge adjacent to adjacent tiles or obstruction before pressing it into place.


