
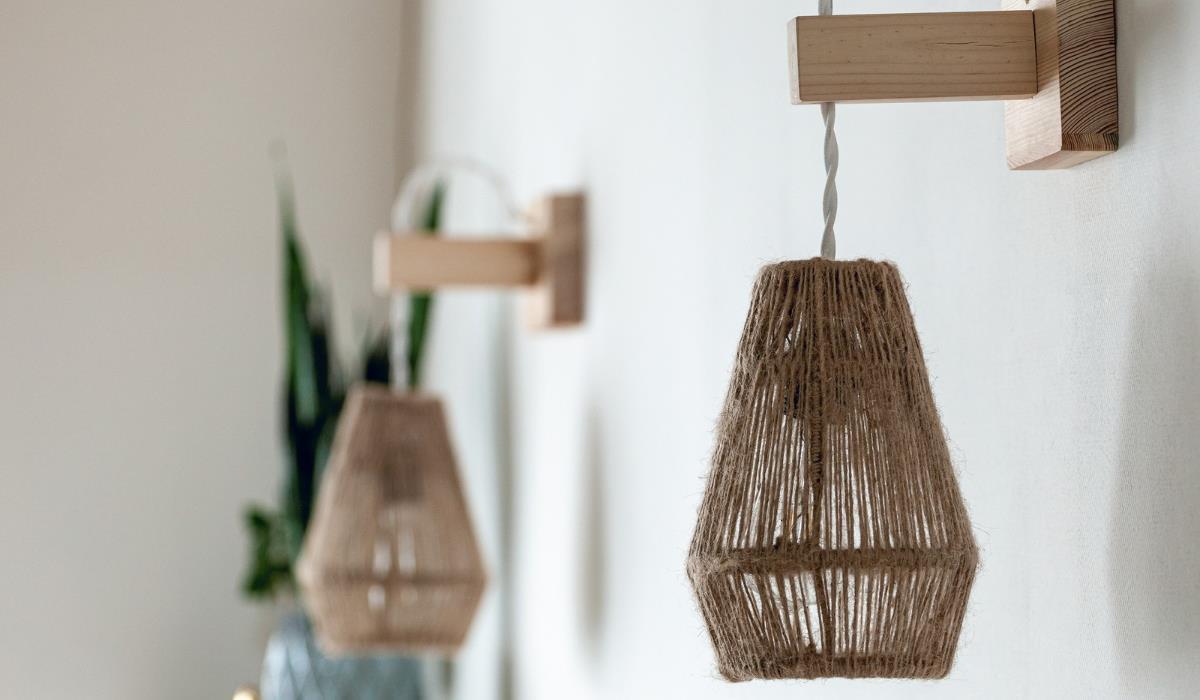
How to install a wall lamp on the wall to quickly refresh the room? Make the most of a small or narrow space by installing wall lighting. These elegant light sources provide indirect lighting for bathrooms, corridors, stairwells and other tight spaces. Additionally, they can add an attractive accent to an otherwise blank wall. For ideal placement, install wall lights (sconces) just above eye level. In bathrooms, it is best to install wall lighting on both sides of the mirror. The same installation method applies to a light strip above a bathroom mirror or medicine cabinet. These wall light fixtures use low wattage bulbs to reduce glare while providing the right amount of light.
To install a sconce on the wall, you will use a ceiling box and wires, just like you would when installing a ceiling light. Most wall lights are mounted using a mounting device that allows you to adjust the fixture even if the box is not level. The whole process should take about three hours, during which time you need to run the cable, install the switch and attach two wall sconces. Before you begin, make sure you know how to cut, splice and splice wires, install electrical boxes, and run wire through walls and ceilings. Then follow the steps below to learn how to install wall sconces.
How to mount a wall lamp on the wall:
- Connect the color-matched wires together.
- Connect the ground. Before completing the installation, turn off the power again.
- Mark the place where you plan to place the wall lamp on the wall.
- Run the cable from the power source to the switch and then to the wall lamps.
- Insert the box into the hole in the wall, enlarging the hole if necessary.
- Tighten the screws until the box is firmly against the wall.
Most wall lights come with the necessary mounting hardware. This usually includes a plate from the center of the fixture (this plate also helps dissipate heat from the fixture).
- Slide the wall light fixture onto the center of the mounting and begin tightening the nut.
- Step back and check that the base is vertical, adjusting it as necessary.
- Once level is reached, tighten the base.
- Install a bulb that does not exceed the manufacturer’s recommended wattage.


