
Due to the fact that electric heating is one of the most expensive ways to heat your home, you can significantly reduce your heating bills by installing a programmable thermostat that automatically lowers the temperature when it is not needed. Make sure you buy a high voltage thermostat designed for electric heating. Thermostats for infrared heaters operate at the same voltage as heaters – typically 240 volts. Low voltage ones for gas, oil or heat pump systems will not work and can be dangerous on a high voltage system.
Mains voltage thermostats operate at 120 or 240 volts and control roof hoods, infrared heaters, and similar devices. Replacing them is no more difficult than replacing the thermostat on the stove. However, there is one significant difference – and potential danger – between the two. A conventional low-voltage thermostat operates at 24 volts, while an infrared heater can operate at 240 volts. Always ensure that the power is off when working with both types of thermostats, but be especially careful with mains voltage thermostats.
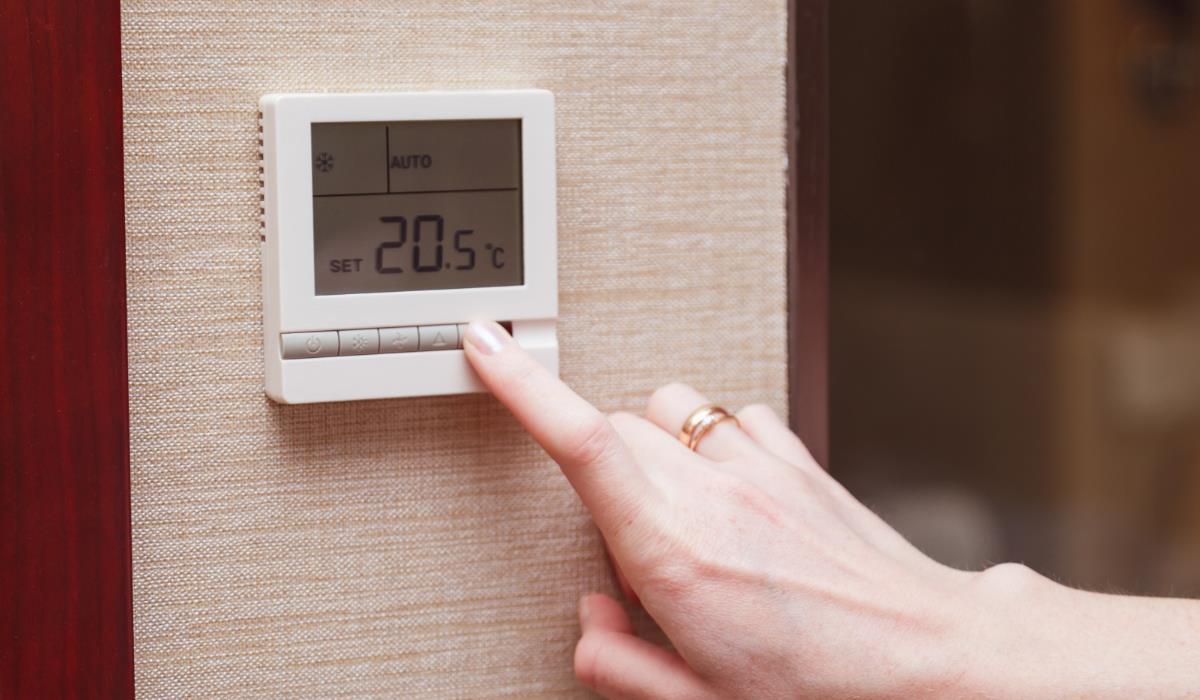
Thermostat for an infrared heater – what will be needed?
- multimeter or circuit tester and continuity tester
- screwdriver
- mains voltage thermostat
- wire clamps
Thermostat for infrared heater – instructions:
- Remove the thermostat. Remove the thermostat cover and unscrew the screws that secure it to the junction box.
- Test the circuit. Make sure the power is off. Place a circuit tester or multimeter on the ground wire and on each of the other wires to make sure there is no voltage flowing through them. If the ground wire is connected to a metal junction box, you can use the box as a replacement for the ground wire when testing.
- Label and disconnect the wires. When disconnecting wires, mark them. Mark which wires are connected to the terminals marked “line” and which to those marked “load”.
- Test the thermostat. Connect one clamp of the continuity tester to one “line” wire and the other clamp to the “load” wire on the same side. Turn the knob from high to low position. If the thermostat is OK, the tester stays on in both positions. Repeat for the second set of wires. If the light goes out, replace the thermostat.
- Connect the wires. Connect the wires labeled “line” to the line wires on the thermostat. Connect the wires labeled “load” to the load wires on the thermostat. Install the thermostat. Coil the wires into the box, attach the thermostat to the junction box and place the cover.

Summary
Proper installation of an infrared heater thermostat is essential to achieving optimal temperature control and energy efficiency. If you follow these steps carefully, you can significantly reduce the cost of electric heating and ensure comfort in your home. In case of any doubt, it is always worth consulting a professional to make sure that the installation of the thermostat will be carried out correctly and safely.


