
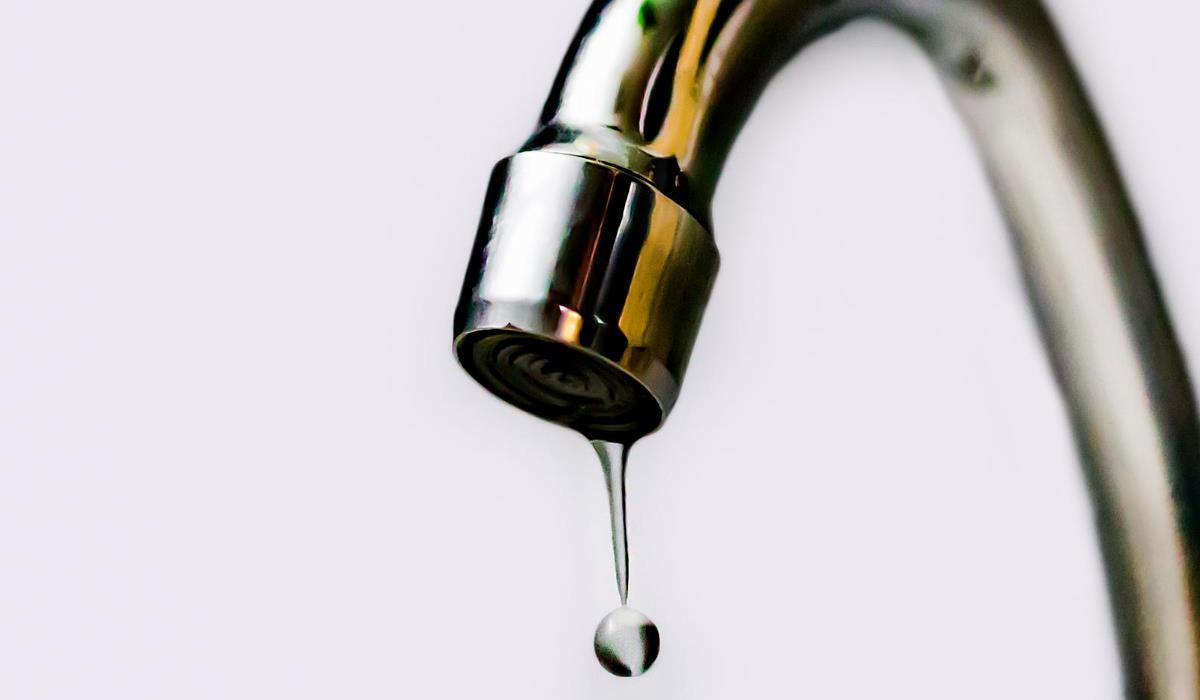
How to fix a leaking faucet? Most bathroom faucets with two knobs are cartridge faucets. Each knob (hot and cold water) has its own cartridge – a valve that rotates with the knob, regulating the flow of water to the tap spout. If you have a very old two-handed faucet, it may still be a compression type faucet rather than a cartridge type. You will recognize this when you remove the faucet knob. Cartridges are typically made of plastic and held in place by a metal cap, while a compression tap has a metal valve with a flat rubber gasket at the bottom.
If you have a leaking faucet, check which side is responsible for the leak – hot or cold water. In this case, you only need to replace the cartridge on the side that is leaking. However, it is possible that both sides are leaking, which means that both cartridges will need to be replaced.
Preparation to work
Start by checking whether there are valves under the sink that turn off the water supply to the faucet. Most valves have a small, ball-shaped handle or lever that you turn to turn off the water. Close the valve on the side of the faucet you will be repairing by turning the clock handle until it is fully closed. If your valves are lever-style, rotate them until they are perpendicular to the water pipes (i.e., in the opposite direction to the water flow). If your home does not have shut-off valves under the sink, close the main water supply valve to the entire home. Once the water is turned off, open the faucet fully to release the pressure in the pipes and allow some water to drain from the system.
Leaking faucet – step by step instructions
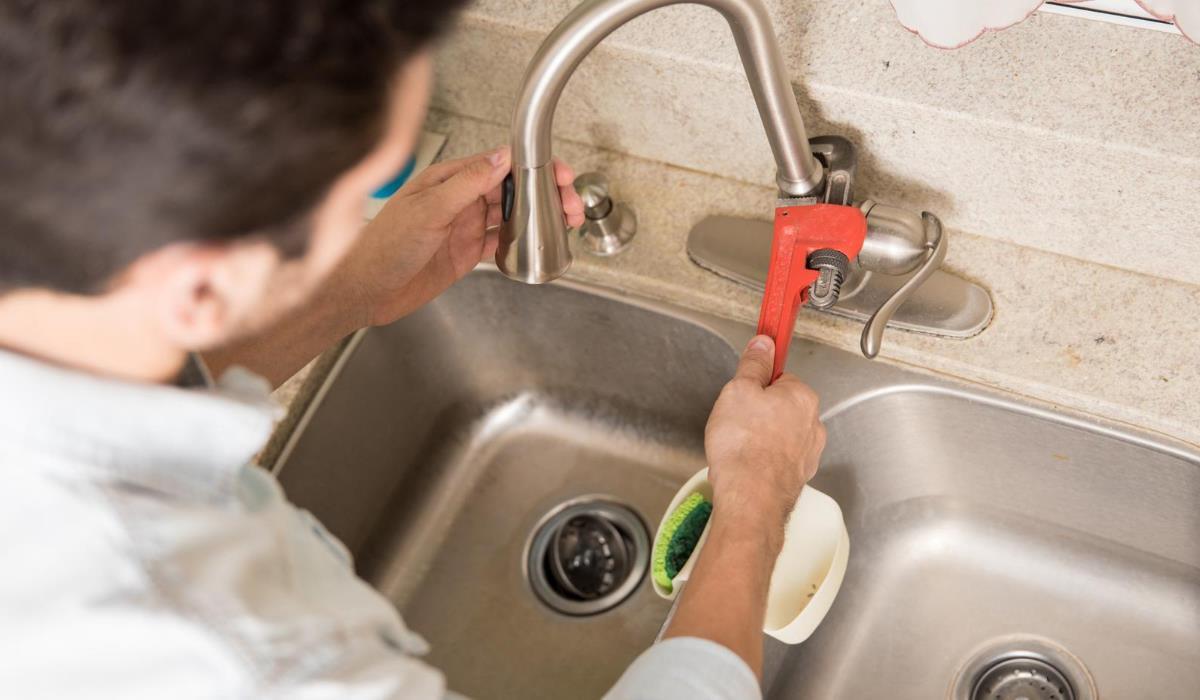
- Faucet Knob Removal: Examine the faucet knob to see how it is attached. Some knobs have mounting screws on the sides or back. Others have decorative caps (usually plastic) that hide the mounting screw. Your faucet may also have a detachable lever that you unscrew from the base to access the screw that holds the knob in place. If your faucet has decorative caps, remove them with a flat-head screwdriver and then remove the screw that holds the knob in place.
- Removing the cartridge mounting nut: Unscrew the cartridge mounting nut using a box or open-end wrench. Notice the brass screwdriver at the top of the cartridge. Its purpose is to strengthen the cartridge shaft when the mounting screw from the faucet body is tightened. You may need this screwdriver when installing a new cartridge as not all new cartridges include a new screw.
- Removing the old cartridge: Note the orientation of the old cartridge. Most cartridges have one or two protrusions that fit into holes in the faucet body. Pull the old cartridge upwards to remove it from the faucet body.
- Buying a new cartridge: Take your old cartridge to the store to find the exact same model. The new cartridges also contain new rubber rings. Plumbing grease can make installation easier.
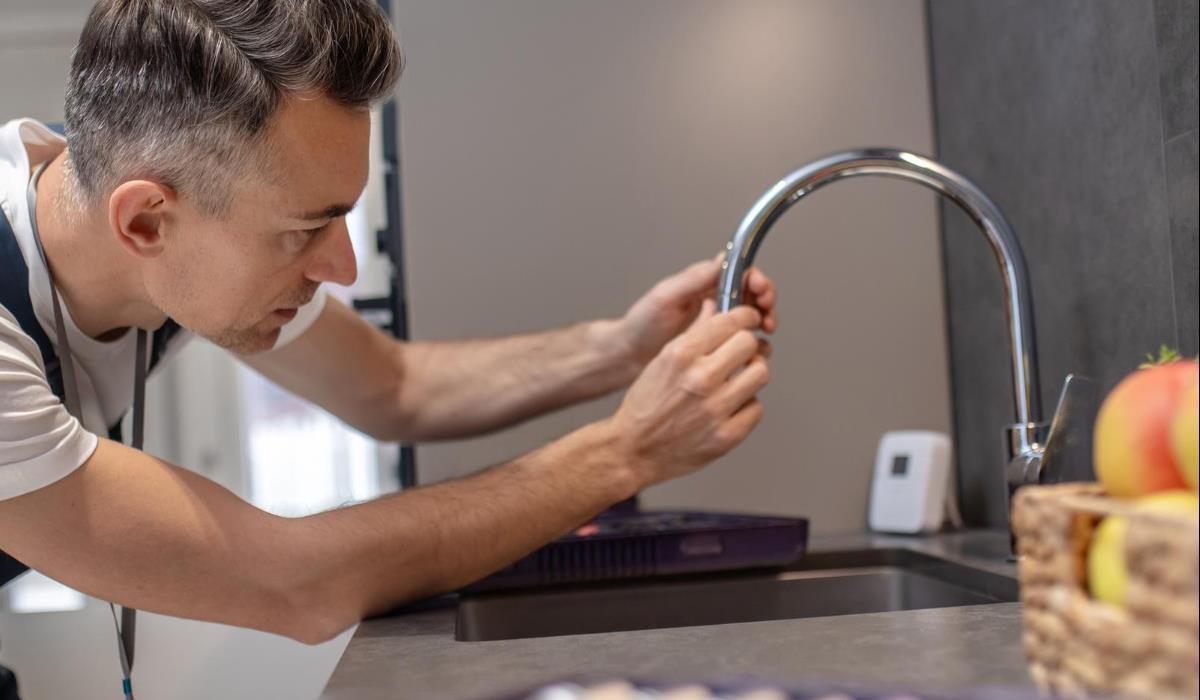
- Installing the new cartridge: If the old cartridge had a brass screwdriver on top of the shaft, now attach it to the new cartridge. If you have plumber’s grease, apply a small amount to the rubber O-rings in the new cartridge – this will make it easier to insert the cartridge into the faucet body. Insert the new cartridge into the faucet body in exactly the same orientation as the old one. Make sure the tabs on the cartridge fit into the holes in the body.
- Completion of installation: Attach the new cartridge with the mounting nut and tighten it carefully with a tube or open-end wrench. Do not tighten it too tightly to avoid damaging the cartridge. Reattach the faucet knob according to the method you noticed at the beginning. Open the water shut-off valve by turning it counterclockwise until it is fully open.


