
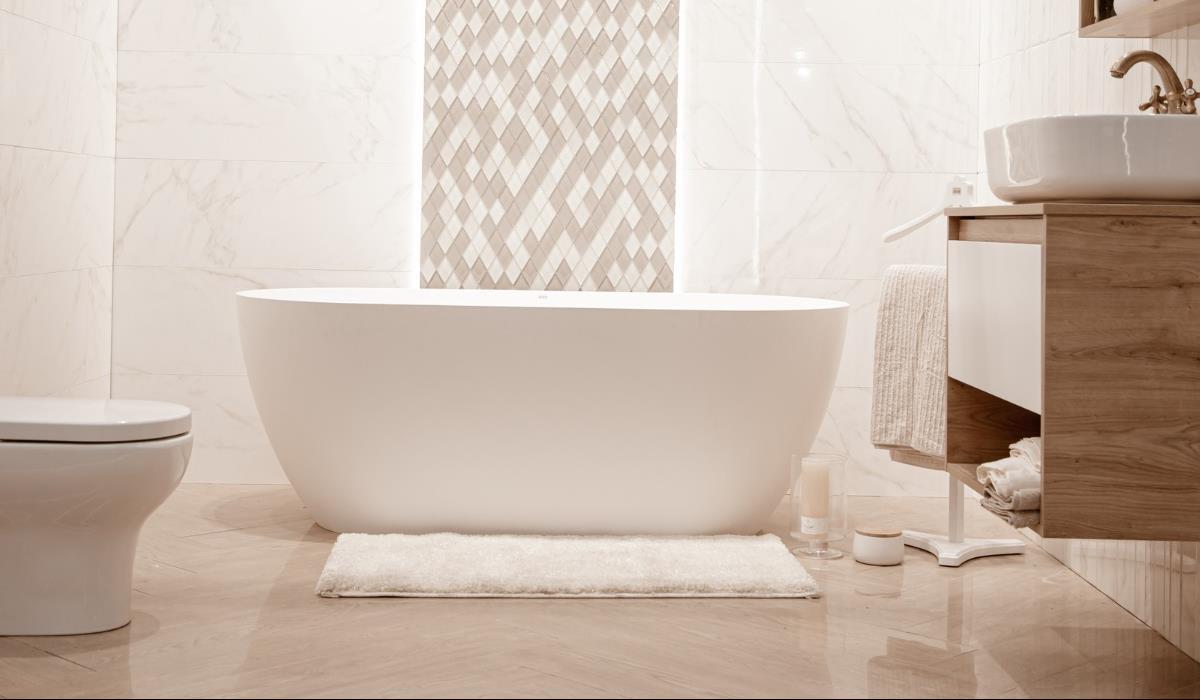
Have you ever considered tiling your bathroom floor yourself? Yes, usually a professional is needed for such a task, but as it turns out, it is quite possible to do this project yourself if you have the right tools and do some research before starting work. The difficulty level is medium, but it can vary mainly depending on the type of tiles you want to use. Here’s a quick guide to what your bathroom floor should look like if you did it yourself…
Before starting any work, you should calculate the size of your bathroom, for which a tape measure is enough. This step is very simple if the bathroom is not divided into separate areas and has a uniform floor plan, but if it is not, divide the floor into smaller areas and measure them separately. Calculate the total and remember to add an extra 10% when ordering materials.
Get samples
Then it’s a good idea to get samples of different types of tiles or different colors to assess what your bathroom floor will look like. Also choose a grout. You have several options here: you can choose a grout that matches the tiles, which will help to hide any imperfections or unevenness, or you can choose different colors that contrast or complement each other.
Install cement boards
The next step will be the installation of cement boards. This is done to ensure the thickness of the floor and smooth transitions between rooms, as well as to prevent the occurrence of mold in places with high humidity. If your bathroom floor is already tiled, you may not need to do this step.
Specify the layout
Then determine how to lay the tiles. To determine the layout, simply arrange the tiles on the floor as you want them to look so you know where you need to cut them. Don’t forget to use spacers. Different sizes are available so make sure you choose the right one. You can then trim the tiles that need trimming, or you can do it while gluing them.
Lay the tiles
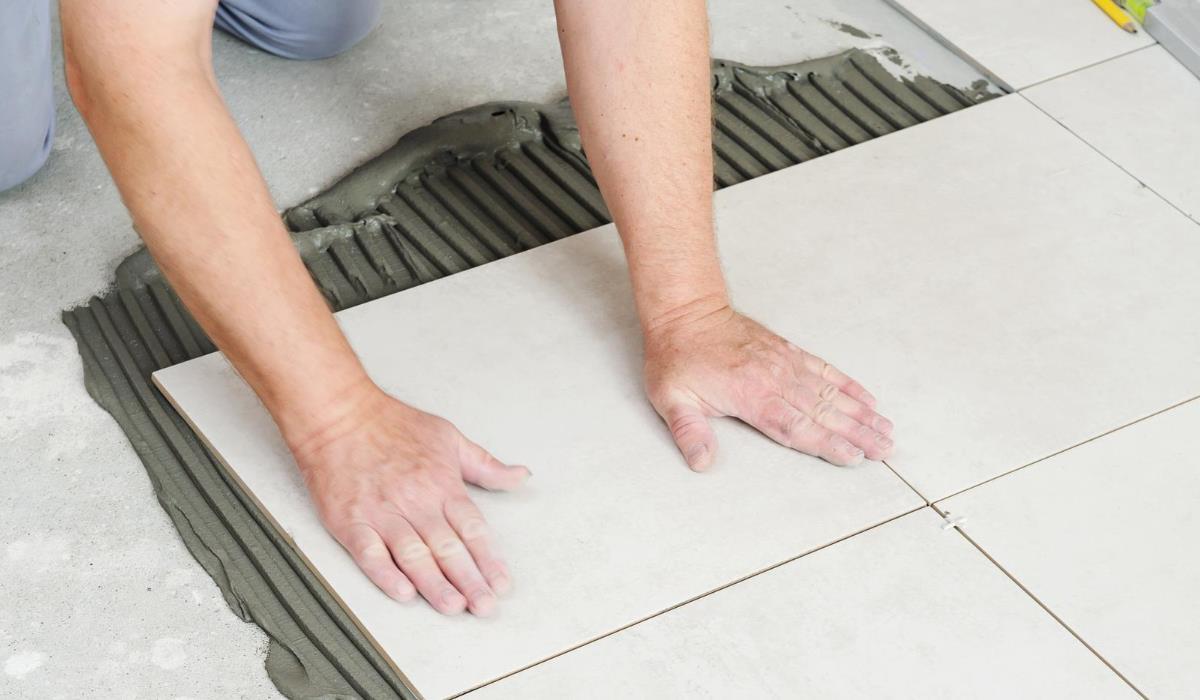
Finally, apply a thin layer of mortar and lay the tiles using spacers. Note that this time the placement of the tiles is final. Use a spirit level when laying tiles to make sure you’re doing it correctly. After 24 hours (minimum), remove the spacers and apply mortar to fill the gaps. Allow the grout to settle for a few minutes, then wipe off any excess. Finally, it is recommended to apply a sealant, considering that the floor in the bathroom is constantly exposed to moisture and water.
Tools you will need:
There are many different types of tiles to choose from with different colors, textures or patterns, but whichever you choose, you need to be prepared for installation, which means you will need a few tools:
- hammer
- wet cutting circular saw
- hammer drill
- trowel set
- spirit level and measuring tape
- fiberglass tape
- wooden block
- sponges and brushes
- gloves, safety glasses, knee pads
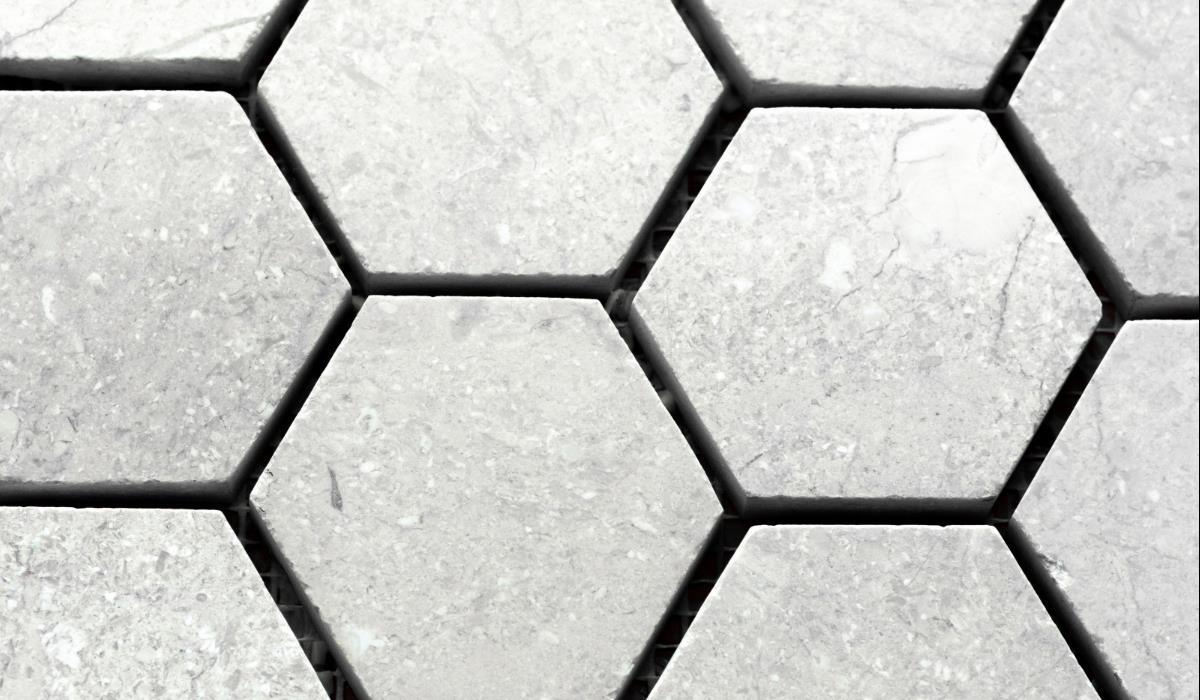
Designs of individual laying tiles on the floor
Installing new tiles on your bathroom floor can refresh the entire bathroom and have a positive impact on the rest of your home as well. It may seem like a very difficult task that requires a large budget, a lot of time and the help of a professional, but that’s not entirely true, as the tile laying guide we just presented shows. What’s more, laying tiles can be really fun. Just think of all the customization options for this design. For example, you can opt for a honeycomb pattern by using hexagon-shaped tiles.
Preparing the floor is as important as installing the tiles, and you can’t do one without the other. So how do you prepare the floor? Assuming you don’t need to remove the old tiles or slabs first, you can start by cleaning the floor. Then mix the mortar and apply it, laying the cement boards on top. Wait 24 hours, then seal the gaps between the boards with tape. After that, you can start laying tiles so that your bathroom floor looks as originally planned.
Summary
No matter how small or large your bathroom is and what type of tile you want to install, the main principles are generally the same. You prepare the floor and then lay the tiles. Of course there are variables you need to take into account. For example, the pattern you want to create. Even if you choose classic rectangular tiles, you still need to decide where to start and how to lay them. An interesting idea might be to create a diagonal pattern. Given that the area in question in this case was a long corridor, the pattern seems quite appropriate. Of course, you have to decide on this detail, taking into account the particular features of your own bathroom.
Do-it-yourself bathroom flooring using tiles is not so difficult, at least if you know the basics and understand how to choose and use all the materials and tools. If you also want to install new tiles on your bathroom walls, you should know that the process is basically the same. You should use tiles specifically designed for walls as they may differ slightly from floor tiles. You can match them to the floor to create a seamless transition, or you can choose a completely different color and pattern.


