
In today’s accelerated pace of life, more and more often we decide to carry out small renovation works ourselves. One such task may be leveling a structural ceiling. It is a process that can change the appearance of any room, adding modernity and elegance to it. The steps below show how to accomplish this task.
Start by securing the entire room with protective films. Use a protective cloth sheet on the floor and plastic sheeting on the walls. It is not necessary to cover the entire wall, the upper third is enough.
Leveling process
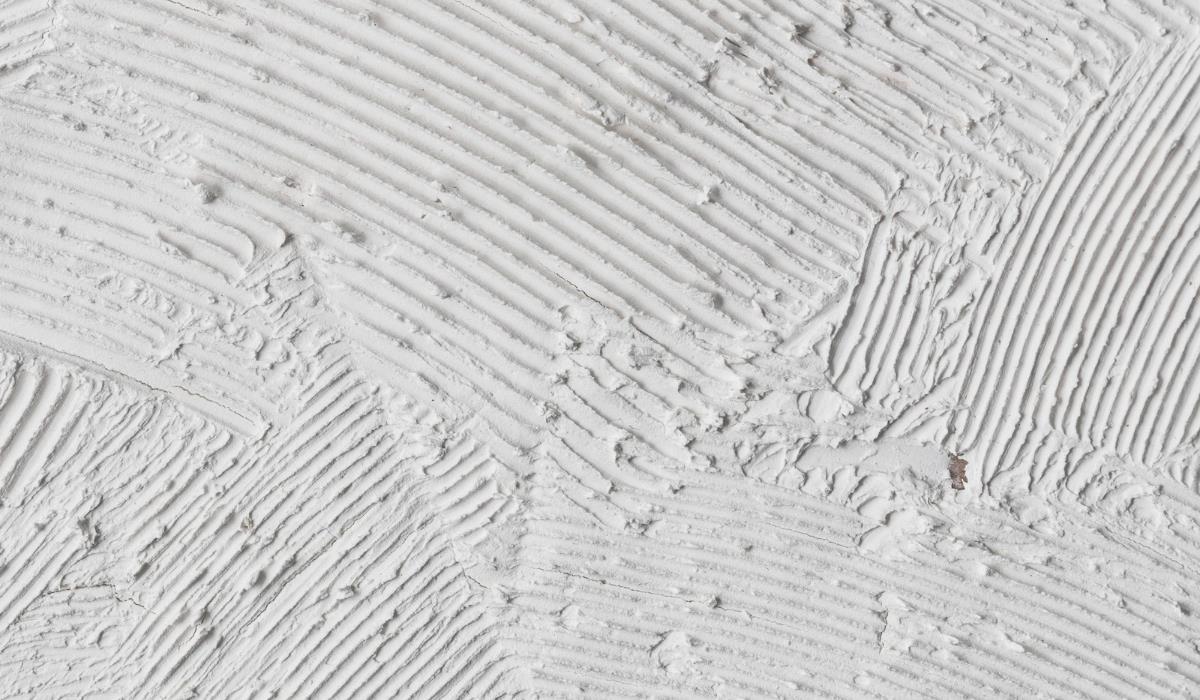
Wipe the ceiling with a damp cloth to make sure it’s clean. Mix the putty in a bucket using water and a drill with a mixing attachment until it is slightly thicker than pie dough. Put some putty on the spatula. Peel off a small amount of putty from the putty knife with a tape cutter and then apply it in thin, smooth layers to the textured ceiling. This technique requires multiple layers, so don’t feel obligated to fill in all the low spots the first time.
Wait about 45 minutes for the first coat to dry. Then apply a second layer. Repeat this process until all low spots are filled and the ceiling is flat. It shouldn’t take more than two to three coats. After 24 hours, lightly sand the ceiling with 220 grit sandpaper. After sanding the ceiling will be ready for painting. We recommend using flat white paint for the ceiling.
We encourage you to make renovation attempts, including leveling the structural ceiling yourself. Thanks to this, you will not only save on the costs of hiring a renovation team, but also gain new, practical skills. Remember that the key to success is patience and accuracy.


