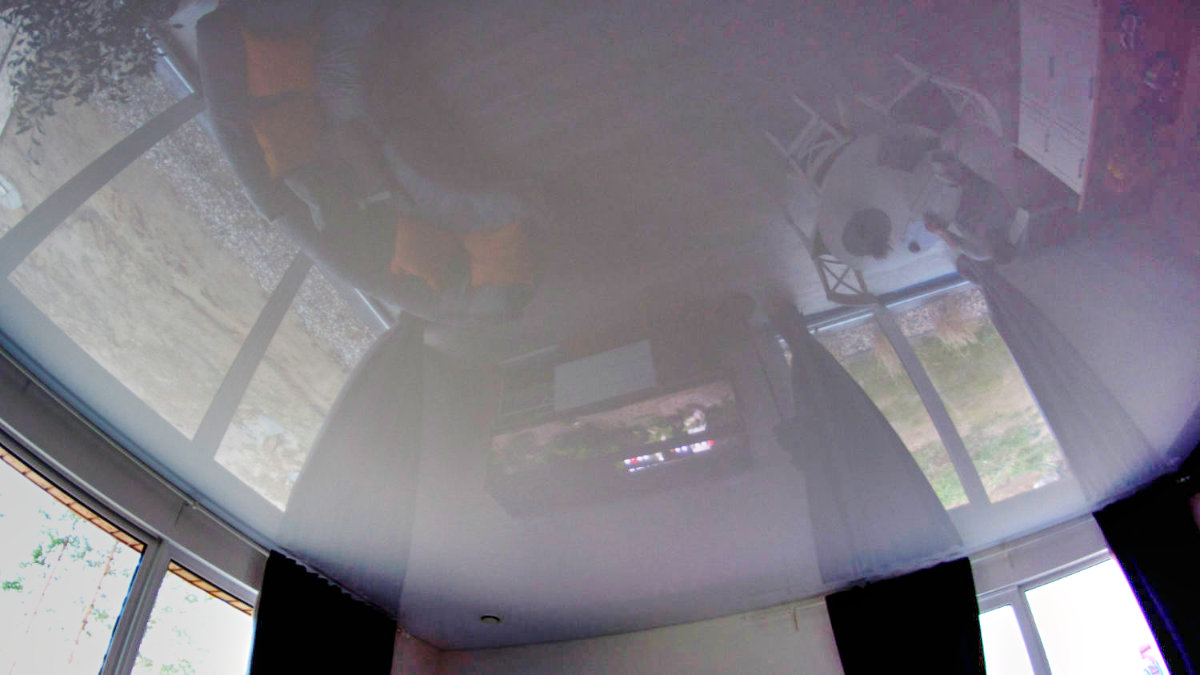
The stretch ceiling is very quick to assemble, however, contrary to appearances, its independent installation is not as easy as it may seem… The vast majority of stretch ceilings that are present on the Polish market are made of PVC foil. Their creation and subsequent installation consists of several stages and beginners, lacking proper knowledge, preparation and any experience will certainly make many mistakes here, which will most likely end up in the garbage of the PVC stretch ceiling. It is much easier to mount a fabric stretch ceiling. However, here too there are a few nuances that can cause some problems for beginners…
Manufacturers of stretch ceilings are very willing to sell their products to people without any training (that’s why we cordially encourage you to take advantage of our training offer), but very often an attempt to install it yourself fails. A stretch ceiling made of PVC foil is very easy to tear as well as overheat / melt the foil during its installation. Especially if you’ve never practiced it before. Videos on YouTube may show that the process is easy, but keep in mind that these are presented by people who are experts in this field, not beginner amateurs. In addition, it is worth being aware that knowledge on how to deal with key assembly problems is provided only during training. True experts, however, do not brag about such knowledge for free.
Stretch ceiling made of PVC foil
Each stretch ceiling made of PVC foil, which goes to the apartment or house of its future owner and user, is made in the following way:
1. Stretch ceiling design
The ceiling must be carefully measured, taking into account all bends at its connection with the walls (e.g. pillars or recesses). Consideration should be given to the future installation of lighting and the ways of its connection to the power source. The project prepared in this way should be delivered to the manufacturer of stretch ceilings. If it turns out that the given dimensions were wrong – we (“designers”) are responsible for this – not the manufacturer. The production of stretch ceilings made of PVC foil is not the most profitable business the world has ever seen. For each manufacturer, the quantity of ceilings produced and their quality, i.e. compliance with the delivered project, are important. No time or ability to analyze designs and guess/predict if its creator did it right?
When ordering the production of a stretch ceiling, it is necessary to specify the material (type / grade of PVC foil), color (the most popular are white and black, but there are many more colors to choose from) and finish (gloss or matt).
2. Production of a stretch ceiling

The manufacturer of stretch ceilings first cuts out the shape of the ceiling from the role of PVC foil, which is consistent with the submitted design. At the same time, it takes into account its target stretching (tension) on the mounting profiles, which is why the resulting ceiling is always smaller / narrower than the actual size. The manufacturer knows how much the foil will stretch, so we don’t have to (and shouldn’t) take it into account in the project.
Then, around the cut ceiling, a long strip of specially profiled tape made of hard (but flexible) plastic is applied and embedded – the so-called harpoon. The harpoon is the element that we attach to the mounting profiles and on which the entire ceiling is held.
3. Purchase of mounting profiles and other accessories
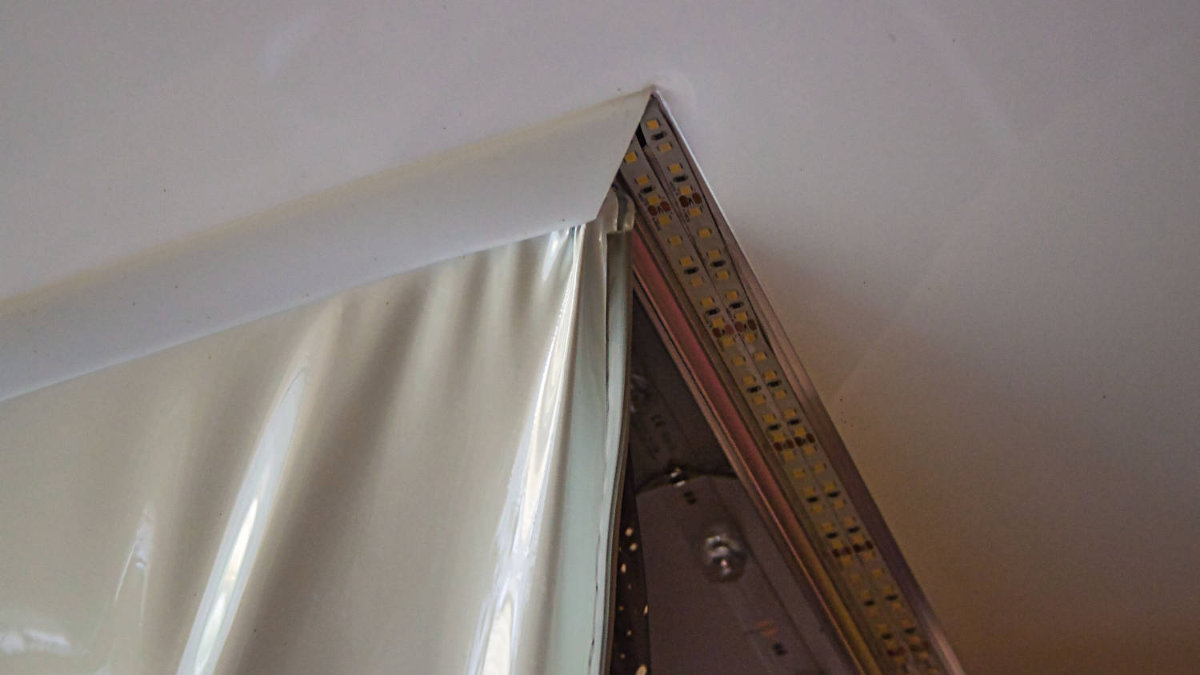
Mounting profiles are a separate and very complicated issue, and the source of this complexity is the fact that there are many types of them… Basically, the same harpoons fit all, but their shape depends on the mounting technique (wall or ceiling) as well as the type of lighting we want to install (what are the dedicated LED profiles for). It is also worth covering the profiles somehow – masking plates and end caps are used for this. If you want to install a chandelier or halogen lamps on a stretch ceiling, it is worth getting protective rings.
Lots of stuff, right…? But it’s not over.
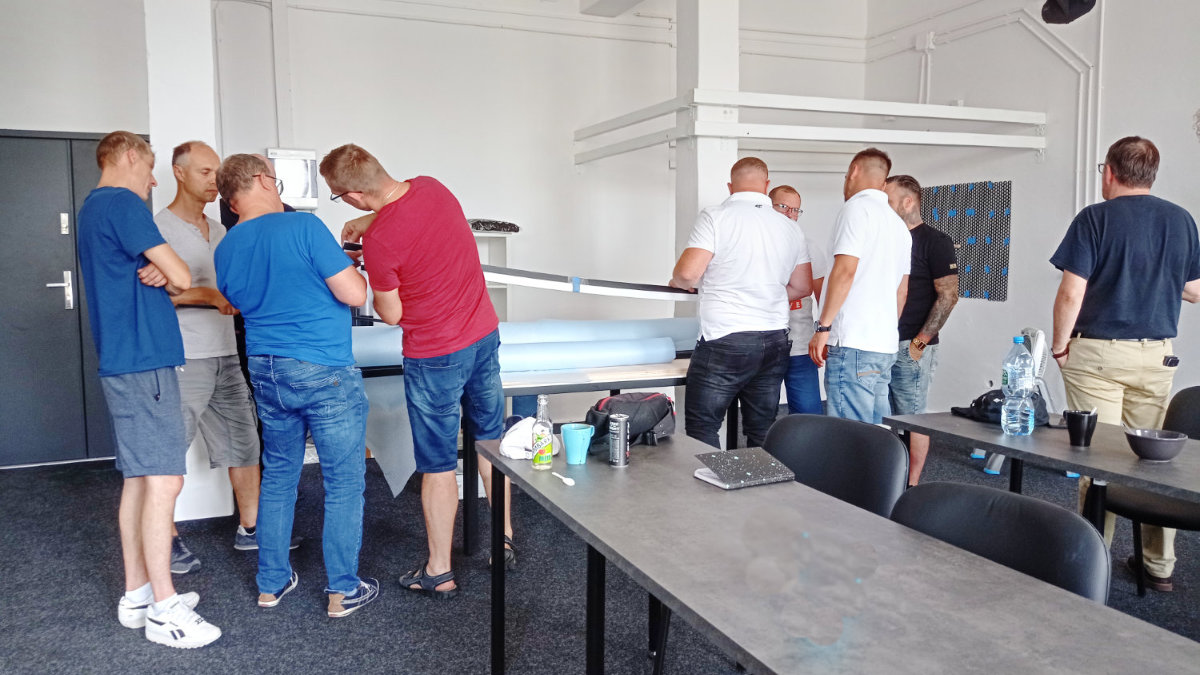
4. Tools
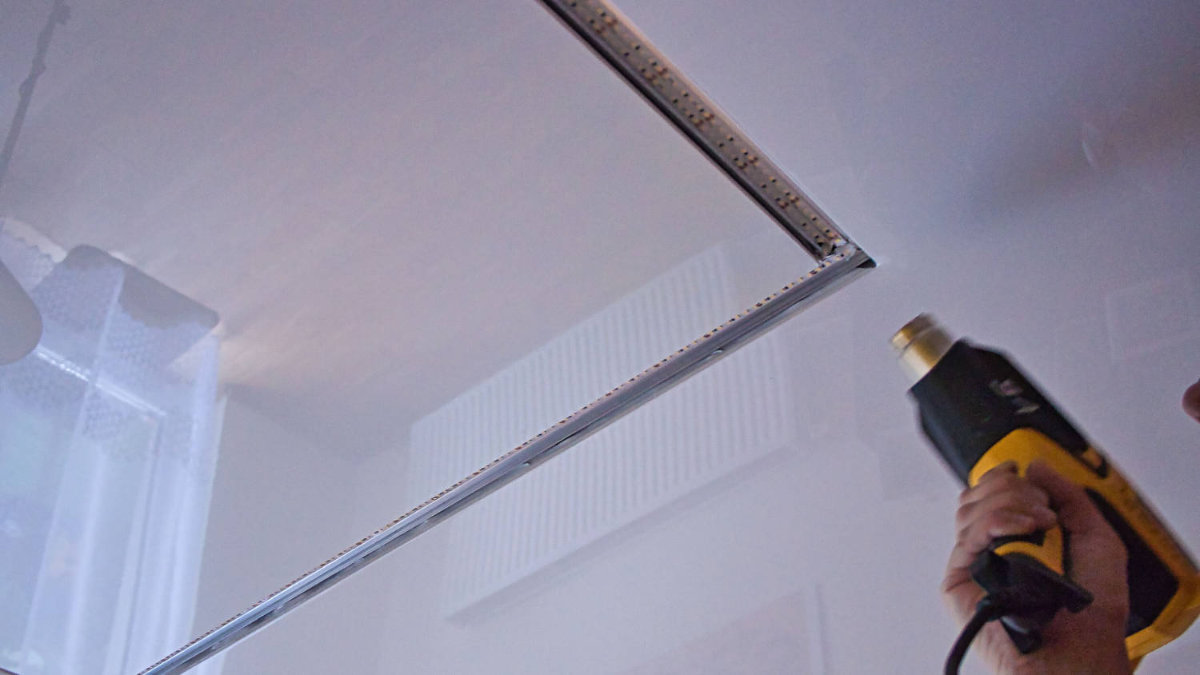
For the installation of stretch ceilings, you need a heater, which will be used to skillfully heat the foil during installation. This is quite expensive and professional equipment with which you can accidentally start a fire. The second thing is special spatulas with which the foil is attached to the profiles – these are dedicated tools only for this purpose. In addition to the above, it is worth considering the purchase of the so-called. “third hand” or tools for gluing LED strips to profiles (like LEDLink). A list of useful special tools for installing stretch ceilings can be found here.
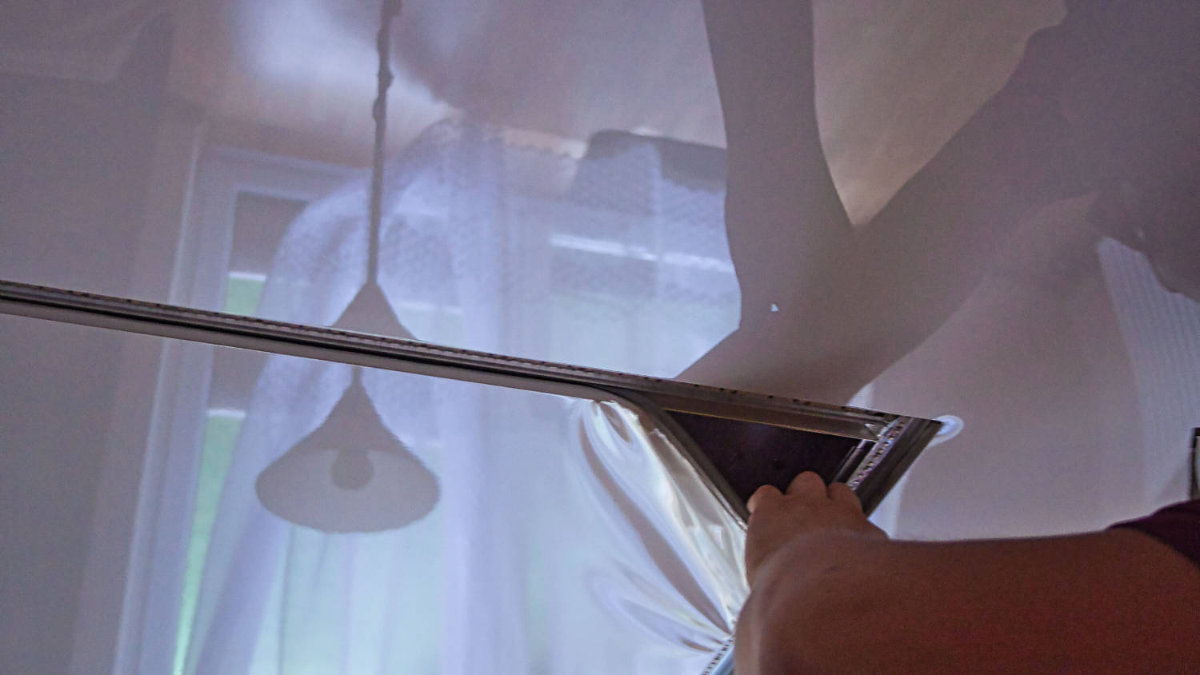
5. Installation of a stretch ceiling

Screw the mounting profiles first. Then install LED lighting in them, unless we give it up in favor of an ordinary chandelier or plafond? Then fasten the stretch ceiling made of PVC foil on the resulting structure, using a heater and spatulas. If we are going to install a chandelier and halogens – stick the protective rings in the right places and cut the mounting holes in the stretched ceiling. It’s good to find the wiring we left there after cutting it out. If not, then … it can be quite a critical problem for a novice installer, because the ceiling will have to be removed.
If the ceiling has been stretched, the lights are plugged in, can we turn them on and see if everything works?
Fabric stretch ceiling

In this case, the matter is incomparably simpler, although still not trivial… For the installation of a fabric stretch ceiling, we do not need to use harpoons, a heater or protective rings for the installation of lighting. The stretch ceiling is self-cut during installation – you only need the ceiling size with an allowance of 5-10% on its edges.
Completely different, dedicated mounting profiles are used. Mounting profiles used in stretch ceilings made of PVC foil will not work here – and vice versa. Completely different spatulas are also needed. Those that are used for the installation of plastic coatings should not be used, as they can permanently damage the fabric. To clip the fabric to the profiles, you need some strength on the one hand, and a lot of technique on the other. This is worth learning during the training – the video on YouTube will either not show it at all, or it will show it inaccurately.